View in gallery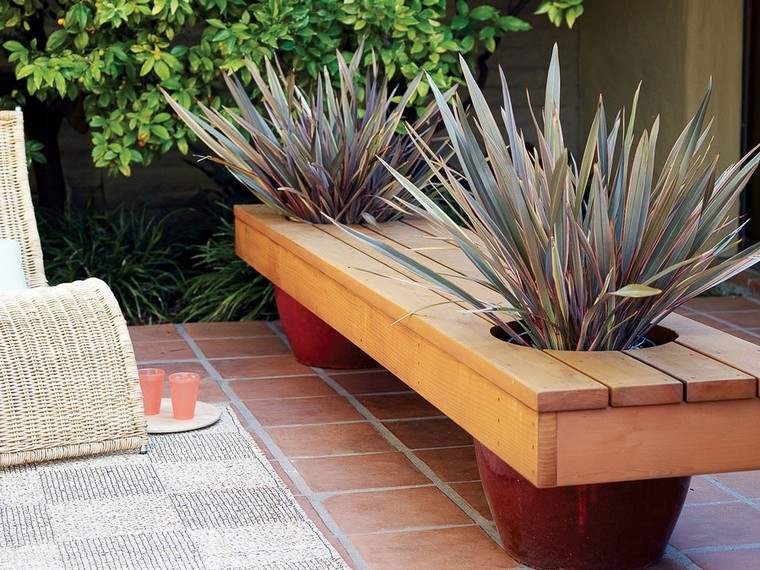 Cheap DIY garden bench: four tutorials in photos | 1/40
Making your own garden furniture is trendy, eco-friendly and practical. We may all have fallen on a design bench that makes us really want, but unfortunately its price is very high for our budget.
Having cheap garden furniture and design look is possible thanks to the many DIY tutorials online. We have selected some of the best to give you inspiration.
Cheap garden bench to build yourself
View in gallery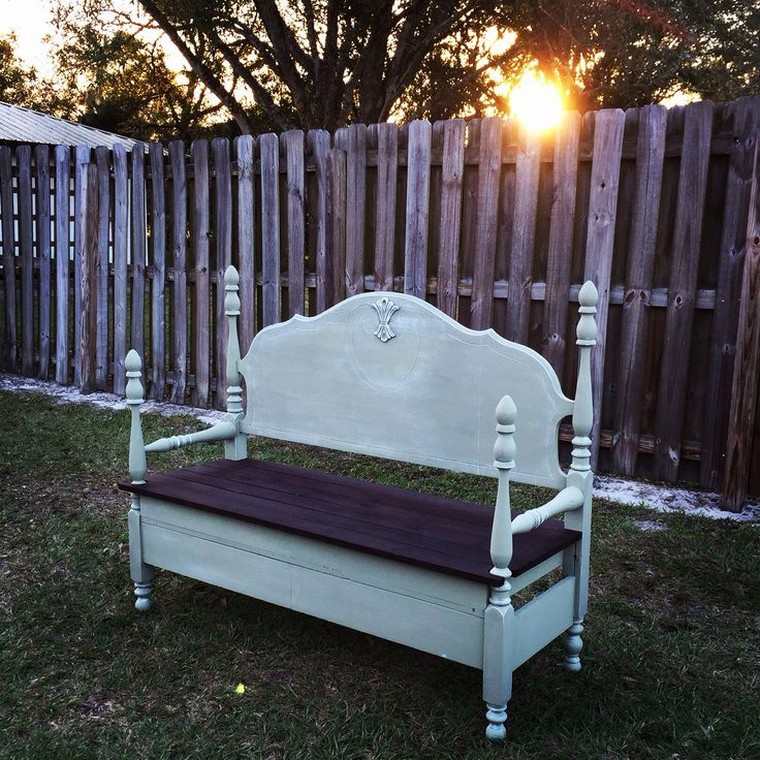 Cheap DIY garden bench: four tutorials in photos | 2/40
Garden bench ideas by expensive to make yourself
The majority of DIY garden bench projects require the bare minimum of basic DIY tools: planks or battens, a saw, an electric drill, a hammer, screws, nails. The number and size of the wooden boards depend on your own desires and the outdoor space where you want to place your garden bench. Finally, it is possible to create different models of garden bench – without or with backsplash, without or with storage space, with or without integrated planters.
We will present four DIY cheap garden bench projects: rustic garden bench, garden bench in pallet and two models of garden bench woven with storage space below.
Find out how to make them and choose the one that best suits your outdoor design and personal taste.
View in gallery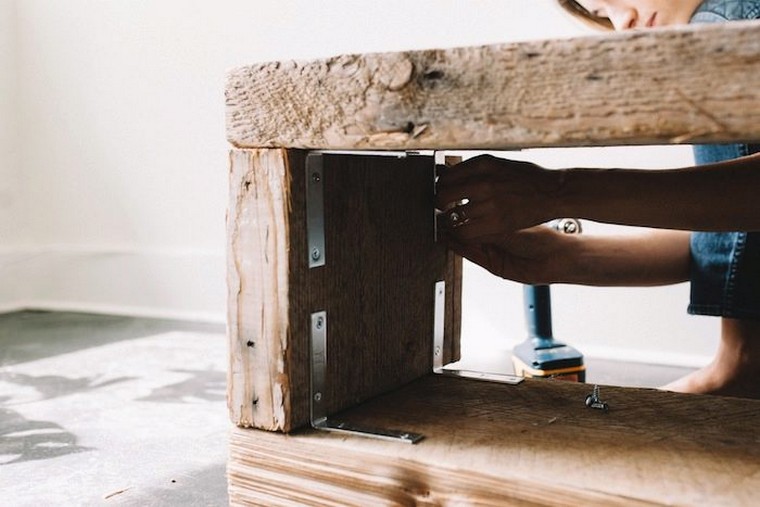 Cheap DIY garden bench: four tutorials in photos | 3/40
Here is one of our favorite garden bench projects. Its rustic look is very warm. It is perfect for outdoors as well as indoors. Indeed, his creator designed it to be able to install it in his bedroom and store his collection of books. We find that it will also fit very well in the garden, on the balcony or on the terrace. Let’s take a look at the steps in pictures of making it really easy!
Cheap garden bench in wood with easy storage space *
To achieve this, you will need the following equipment:
- two rustic wooden boards 150 long and 8 cm thick and 40 cm wide
- two boards 40 cm long
- 8 big L stands
- 32 screws
- Electric drill
View in gallery Cheap DIY garden bench: four tutorials in photos | 4/40
- Start by placing your wooden base.
- Place the first leg on this same base making sure it is at the edge of the edge. The picture below shows how to do it.View in gallery
 Cheap DIY garden bench: four tutorials in photos | 5/40View in gallery
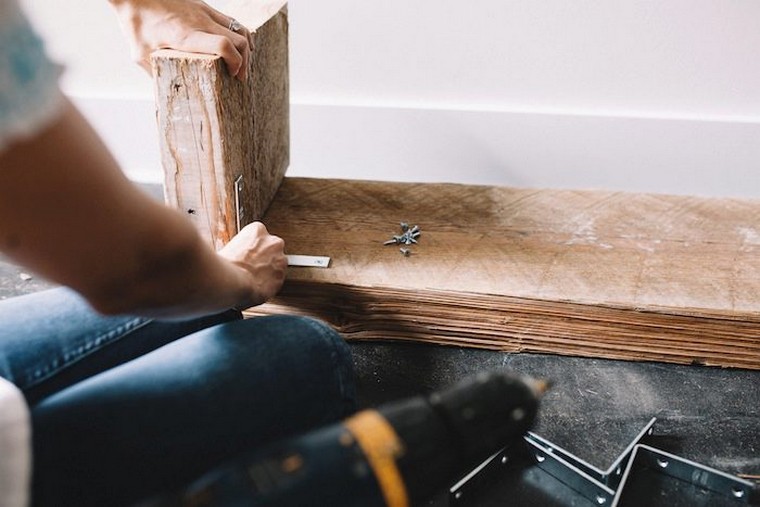 Cheap DIY garden bench: four tutorials in photos | 6/40
 - Place your support L on the base and align it to where you want to attach it to the leg.View in gallery
 Cheap DIY garden bench: four tutorials in photos | 7/40
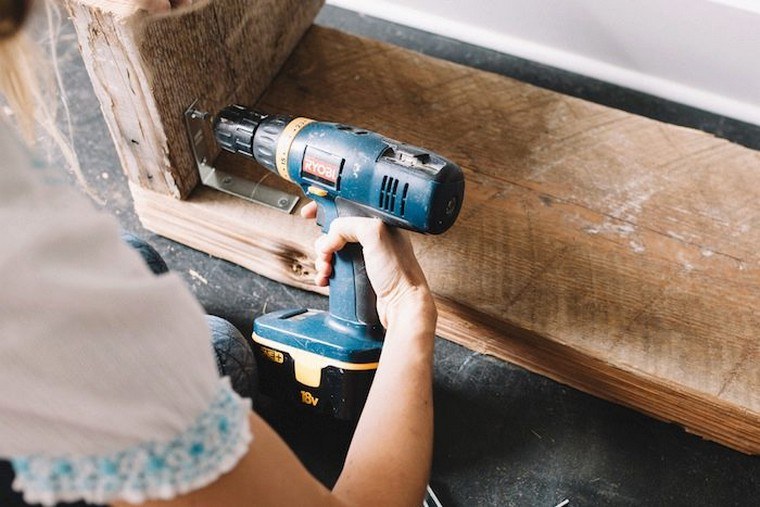
 - Remove the leg and screw the bracket L to the base.View in gallery
 Cheap DIY garden bench: four tutorials in photos | 8/40View in gallery
 Cheap DIY garden bench: four tutorials in photos | 9/40
 - Place the leg on the base and screw the bracket L into the leg.
- Screw the second bracket L to your base and leg at the back of the base.
- Place your second leg on the base and position it flush.
- Repeat steps 3 to 6.View in gallery
 Cheap DIY garden bench: four tutorials in photos | 10/40
 - Place the seat of your bench on top of the base, making it level with both legs.
- Screw the legs into the top by attaching your L brackets directly over the lower L brackets.
- Repeat and do the same for the other side.
View in gallery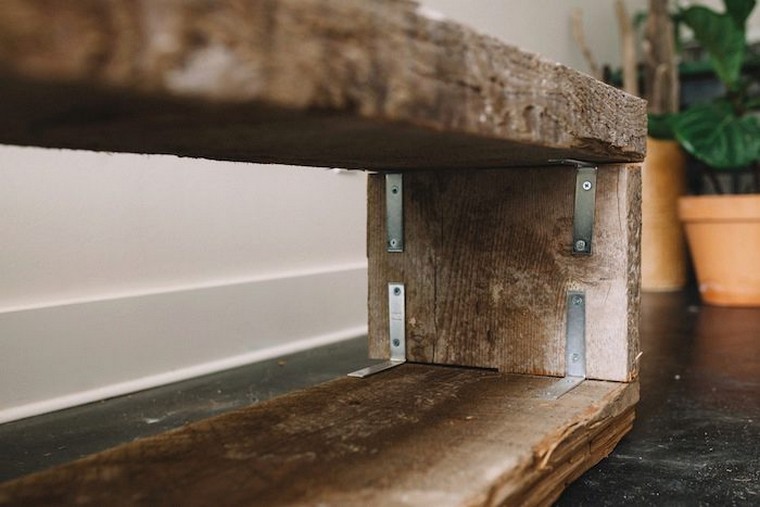 Cheap DIY garden bench: four tutorials in photos | 11/40
This garden bench looks rustic and to manufacture in a few hours. He is solid. Thanks to its storage space, placed in your garden, on your terrace or balcony, it will allow you to place pots of plants, cushions, tools of garden or accessories or everything that makes you want.
Admire your work and enjoy your beautiful wooden bench!View in gallery Cheap DIY garden bench: four tutorials in photos | 12/40
Cheap garden bench in wooden pallet: a breeze ?!
It is possible to make a cheap garden bench in wooden pallets in several ways. Everything depends on your desires and the space available to you. The dismantling or cutting of a wooden pallet to make a garden bench is not a necessary step in itself. The standard size of a pallet is between 80 and 100 cm to 120 cm. If this size suits you, then there is no need to cut it. Know that it will make a bench big enough!
View in gallery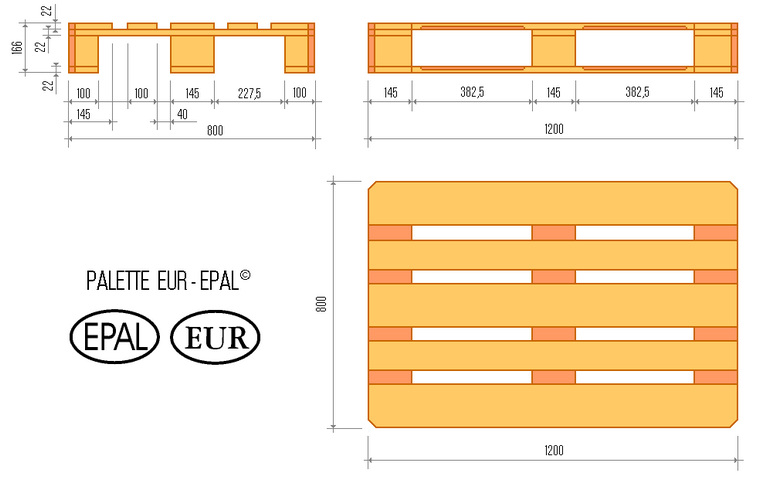 Cheap DIY garden bench: four tutorials in photos | 13/40
If you have the tools and the envy, here is a project DIY garden bench cheap in pallets. He will only ask you a few hours to realize it. If you’re already an experienced handyman, you can even make it for less than two hours!
Make a cheap garden bench in a wooden pallet
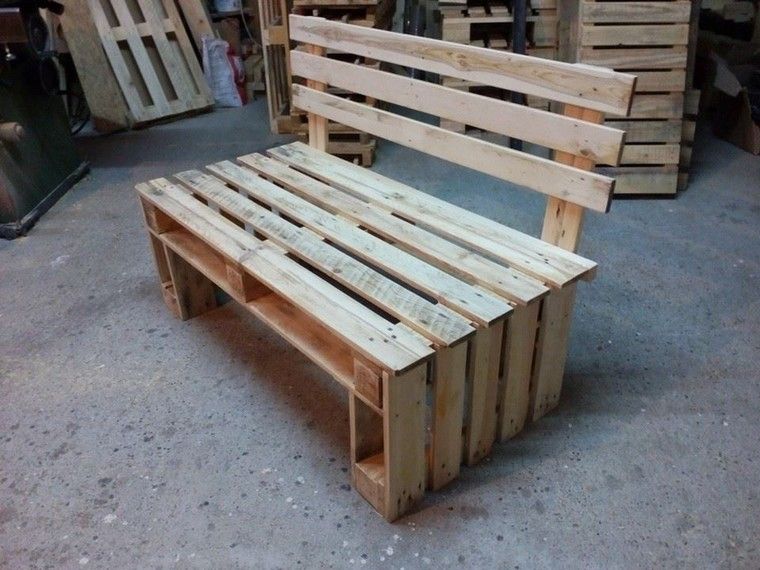
The final dimensions of the wooden garden bench below are 90 cm for the seat and 120 cm for the backsplash.
View in gallery Cheap DIY garden bench: four tutorials in photos | 14/40
The first step is to cut the pallets for the seat. The creators of this bench of garden, one kept the length of the pallet of 1.20 m and one opted for a width of 40 cm. The palette they used was 90 cm wide. Divided to two, so we get two pieces per pallet. It takes 4 in all for a garden bench 45 cm high.
The backrest and the armrests are indeed optional
For the backsplash, we take a whole palette. Here, no need for cutting! The backsplash is indeed optional, depending on whether you want to have one or not.
View in gallery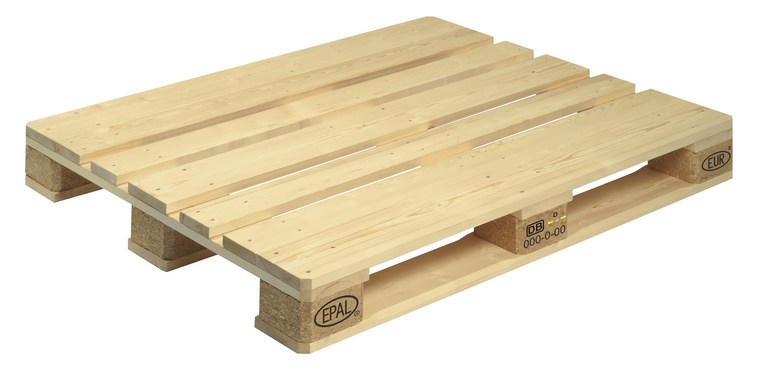 Cheap DIY garden bench: four tutorials in photos | 15/40
For the seat, if you want to create a more comfortable seat, you can proceed this way:
Remove the slats from the last tray of the seat. Then cut the panel to make a more comfortable seat of length 1.20 cm and width 50 cm. The width is greater in order to obtain an inclined backrest.
View in gallery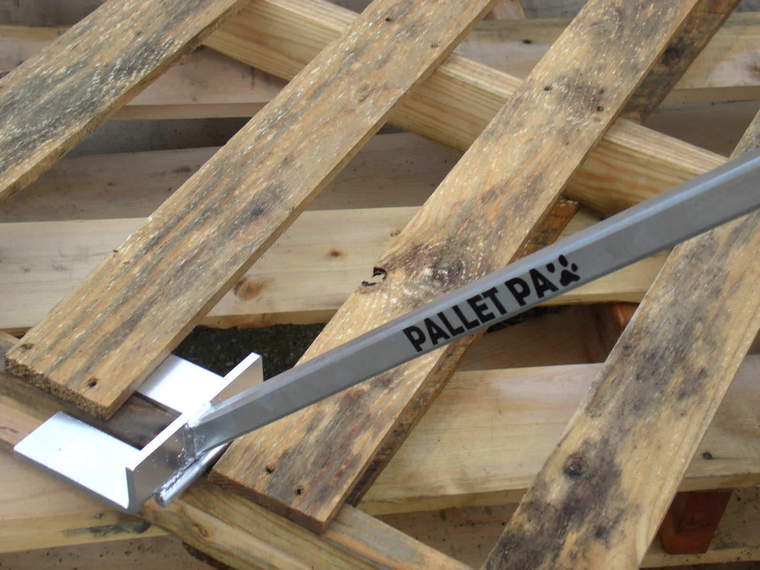 Cheap DIY garden bench: four tutorials in photos | 16/40
The armrests, too, are optional. To make them, we will use pieces of pallets to throw. We measure and cut the armrests. For a garden bench of these dimensions, one will need the armrests of width of 75 cm and height of 65 cm. To avoid the holes due to the cut, we remove the slats on the pieces to throw and we add them on the sides of the armrests!
View in gallery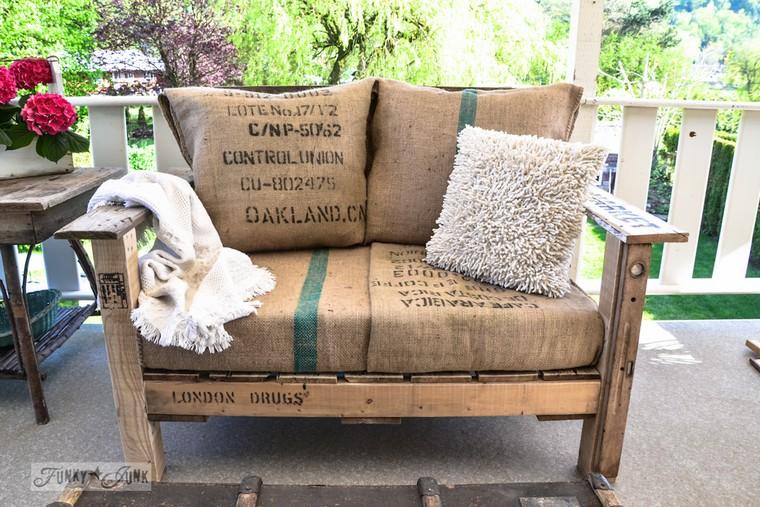 Cheap DIY garden bench: four tutorials in photos | 17/40View in gallery
 Cheap DIY garden bench: four tutorials in photos | 18/40
Wooden woven garden bench: elegant and very original
View in gallery Cheap DIY garden bench: four tutorials in photos | 19/40
You probably know well the garden bench in wooden pallets and the garden bench in DIY wood recycling. Here is a different and very original woven bench project that will change classic garden bench DIY projects.
Make a cheap garden bench woven with a wooden base
For making Brittany’s blog HACK THIS used the redwood. Redwood is known for its resistance to insects and fungi. It is therefore perfect for garden furniture knowing that the latter is often exposed to the risk of being damaged quickly. The redwood is also very soft and therefore easy to work. You can find and buy on the site of ftfi or on the website of Presto-wood. Finally, you can of course opt for another species of resistant wood: pine, teak, Douglas fir and others. If you buy it in a specialized store, do not hesitate to seek the advice of a consultant.
You have the choice to cut or not to cut the wooden cleats. Basically, Brittany decided to use her saw and miter saw for this. Here are the dimensions she obtained:
- 2 wooden cleats of 115 cm (50 × 50)
- 4 wooden cleats of 47cm (50 × 50)
- 2 wooden cleats of 36 cm (50 × 50)
- 2 packs of clothesline (each 60 m) plus a spool of cord
View in gallery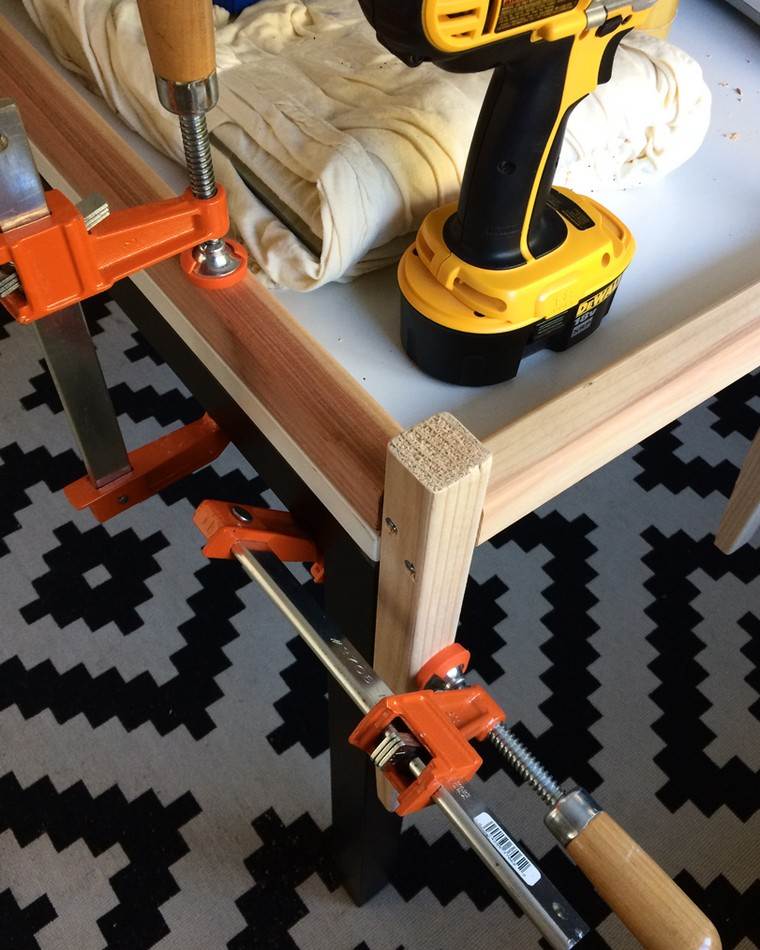
Cheap DIY garden bench: four tutorials in photos | 20/40
Be aware that the dimensions may vary depending on your desires. To assemble all the cleats and the feet of your bench, use a Kreg Jigs. The Kreg Jigs is a DIY assembly system that allows you to realize brico projects quickly and easily. Easy to use even by beginners, once you buy it, your brico projects will become child’s play!
View in gallery Cheap DIY garden bench: four tutorials in photos | 21/40
The final steps in the realization of the wooden woven bench
Here is the result you will need after assembling all the wooden battens:
View in gallery Cheap DIY garden bench: four tutorials in photos | 22/40
Then apply a wooden conditioner. This is necessary to protect your furniture. Once your construction is dried wood, it’s time to put the clothesline.
View in gallery Cheap DIY garden bench: four tutorials in photos | 23/40
Weaving is important in order to get a solid foundation. Do not hesitate to shoot hard! Here’s how to do it:
View in gallery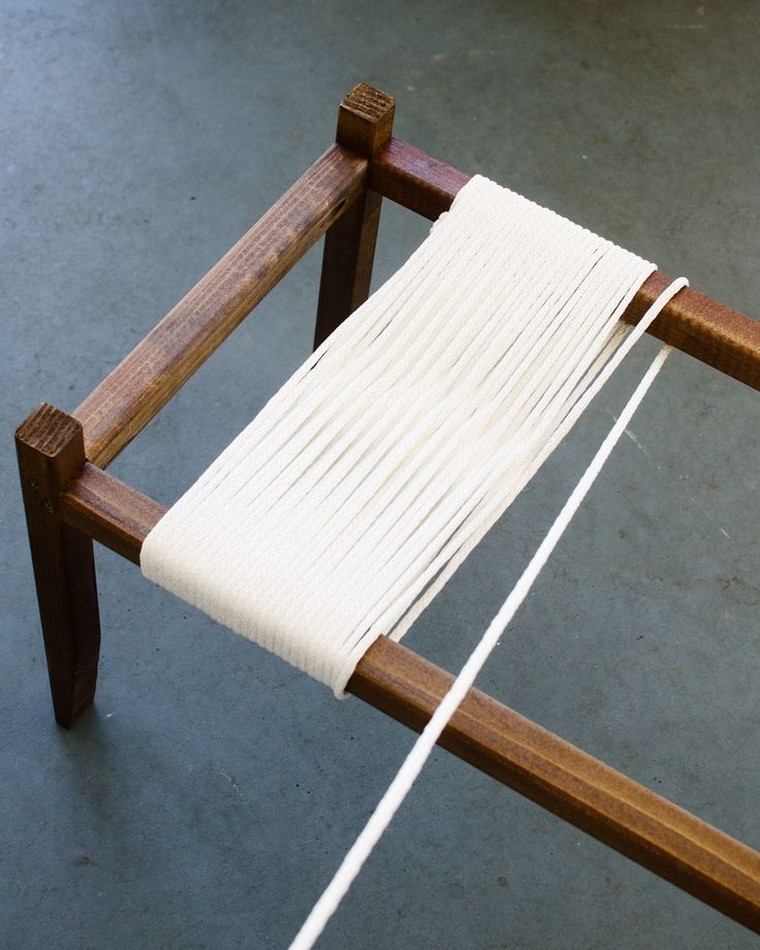 Cheap DIY garden bench: four tutorials in photos | 24/40
As you will see Brittany decided to use this garden bench as a coffee table. You can do the same if you do not have one. This elegant bench will fit very well in your living room or garden. It’s up to you to decide where he will go best!
View in gallery Cheap DIY garden bench: four tutorials in photos | 25/40
Second DIY woven bench model at a low price
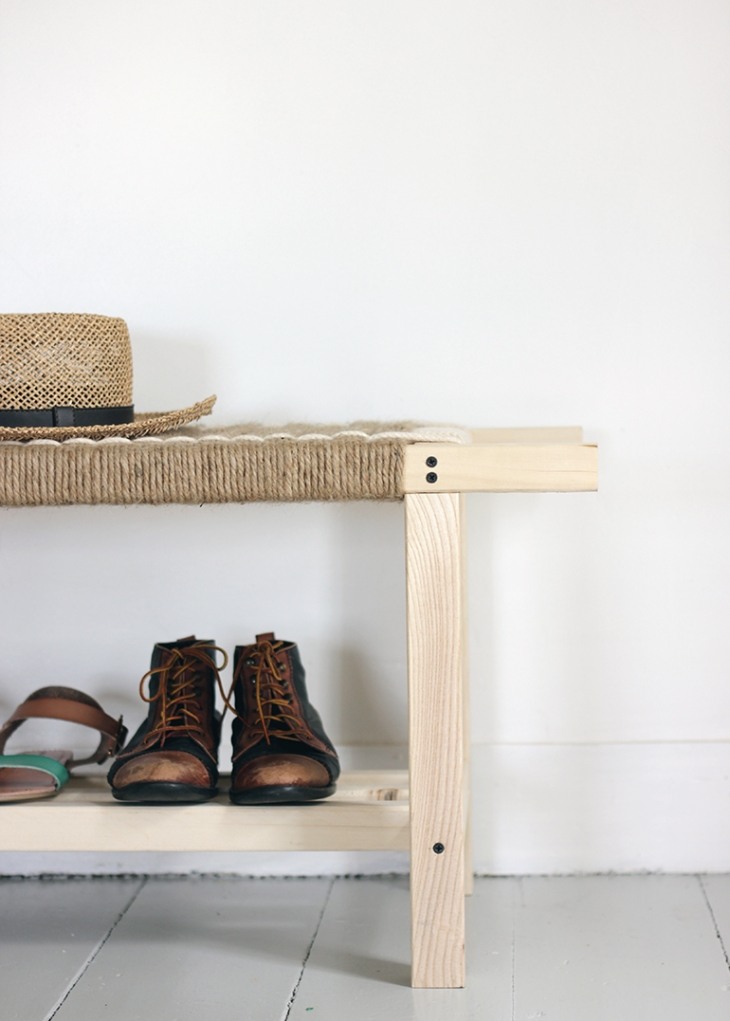
The latest DIY project to introduce you and he too, basically designed to serve as an entrance bench. However, it can integrate very well with your outdoor garden or terrace. Just place it in a shady corner: on your terrace or under a pergola. Its manufacture is simple. Its sleek design is easy to match with any style. Her designer Caitlin made it to fit in her entrance and use it as a shoe cabinet.
To create this woven bench, she used jute instead of the clothesline.
View in gallery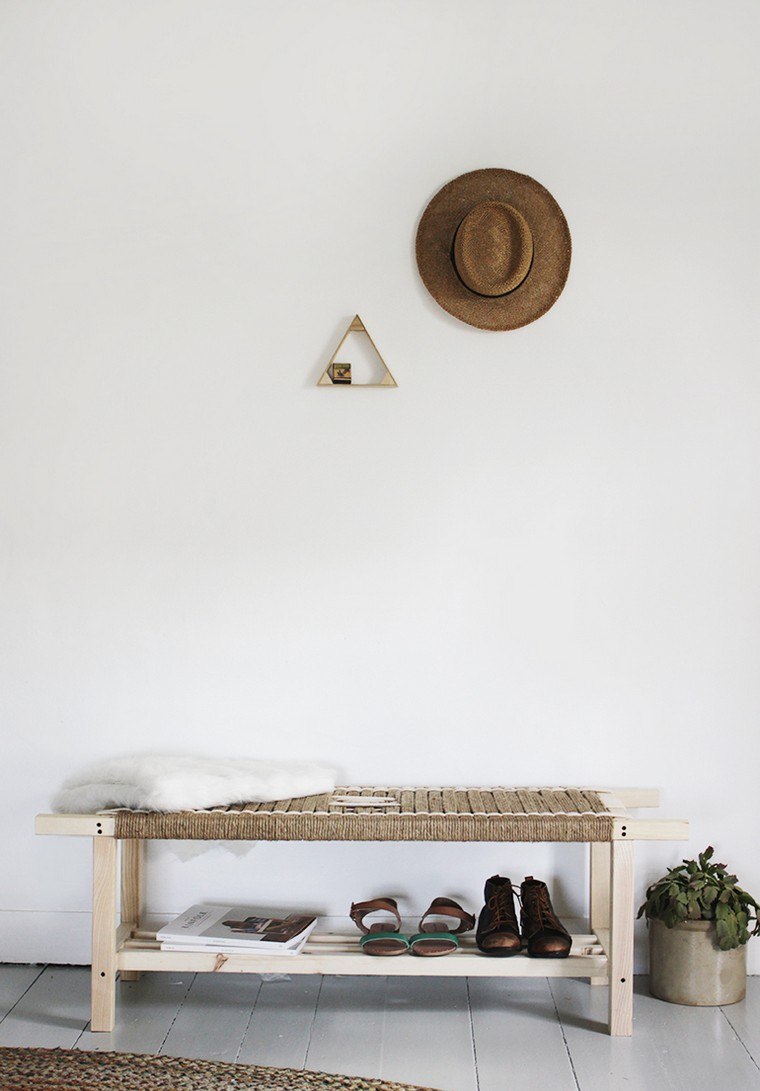 Cheap DIY garden bench: four tutorials in photos | 26/40
Here is the material and the tools necessary for its realization:
- three wooden cleats
- four table legs (or similar cleats)
- pencil
- saw
- Sandpaper
- drill
- screw
- two rolls of jute rope
- cotton rope (optional)
- hammer
- fixing nails
In short, you can proceed in the same way as Brittany and make the base of your bench with cleats or wood. The key is to measure the dimensions to obtain a bench adapted to your exterior. The big difference from this bench woven from the previous one is that here we have a storage space below. To create it you will need five additional cleats.
The steps to follow to make this garden bench cheap and very chic
To create exactly the same bench as the picture, you will need 2 x 127 cm wooden battens, 2 x 30.5 cm battens, 3 x 98 cm battens, and 2 x 29 cm battens. It is quite possible to vary the dimensions according to your desires.
Use your drill to make holes the same size of the screws at your disposal. Drill at the end of each of the two 127 cm cleats. These holes will be used to attach 30.5 cm pieces to 127 cm pieces. After these steps, you will have your bench base made.
Go on to the next step, weaving. Secure the rope with the fixing nails as shown in the photo below. Feel free to pull hard to get a solid foundation. You will need at least two rolls of jute rope. As you will see in the photo, the cotton rope serves a purely aesthetic purpose.
View in gallery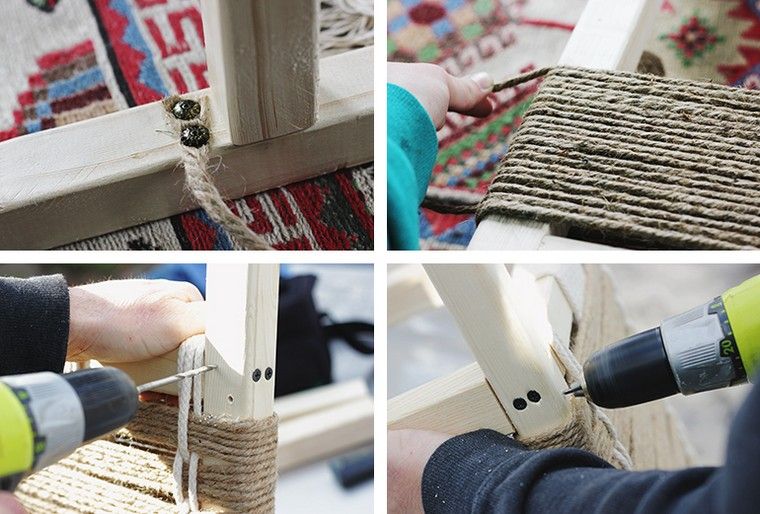 Cheap DIY garden bench: four tutorials in photos | 27/40
To fix the feet of your bench, you will have to make holes above the wooden cleats of 127 cm. You can see how to do on the picture above.
View in gallery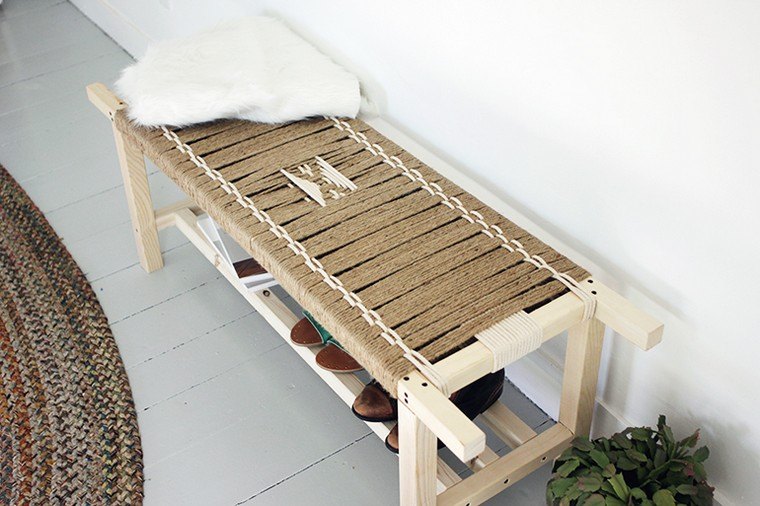 Cheap DIY garden bench: four tutorials in photos | 28/40
And the last step: admire your beautiful creation!
View in gallery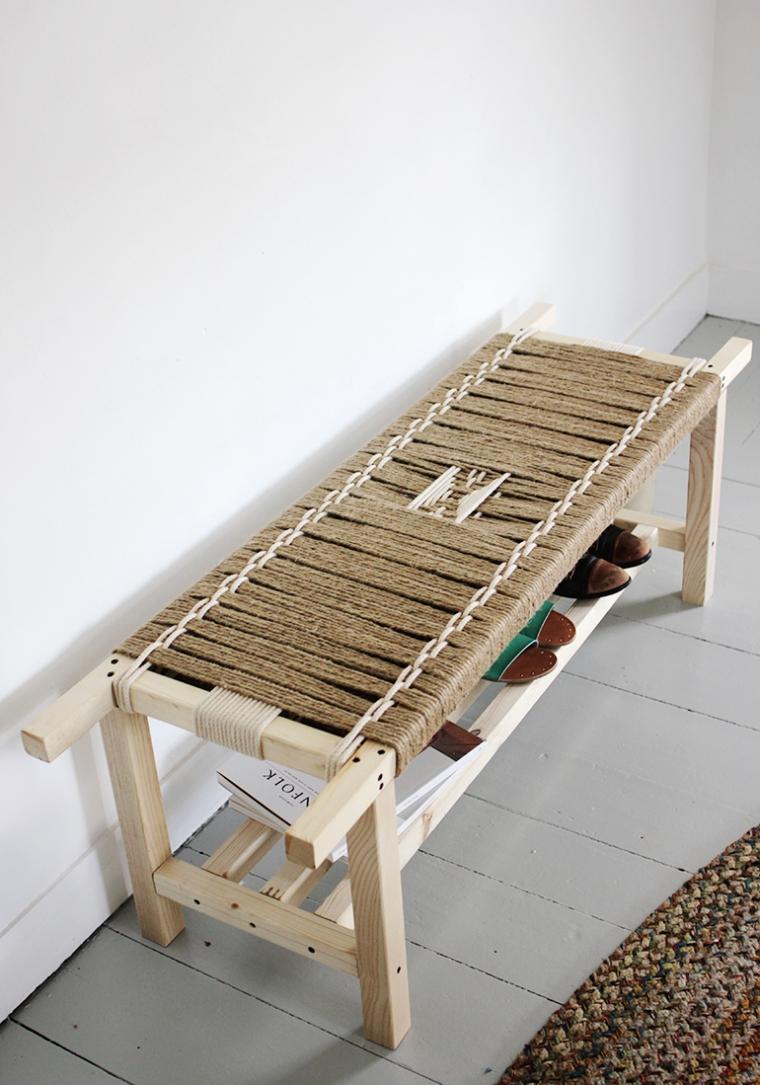 Cheap DIY garden bench: four tutorials in photos | 29/40 View in gallery
 Cheap DIY garden bench: four tutorials in photos | 30/40
Discover now some other models of
DIY garden benches are elegant and easy to make.
View in gallery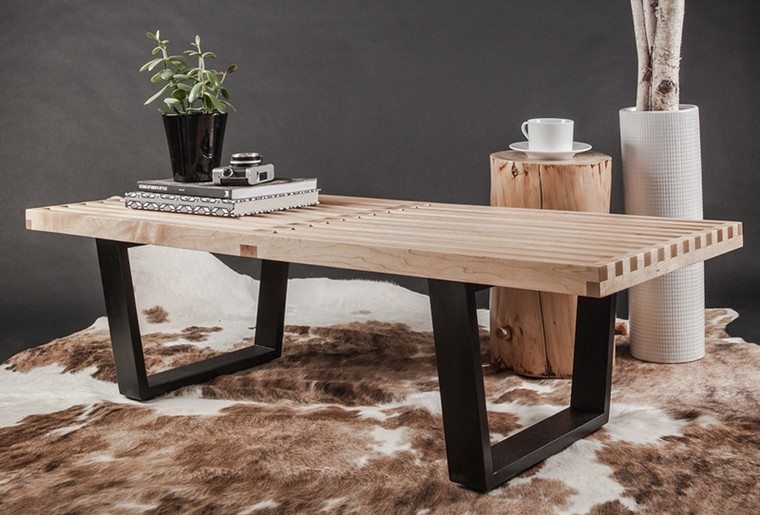 Cheap DIY garden bench: four tutorials in photos | 31/40
The big advantage of the bench is that it is indeed a multi-function furniture. Installed in the garden, it makes a garden bench without or with comfortable storage space. Summer is over, you can get it inside and use it as a shoe cabinet, for example. There are also models that can be transformed into a low lounge table.
View in gallery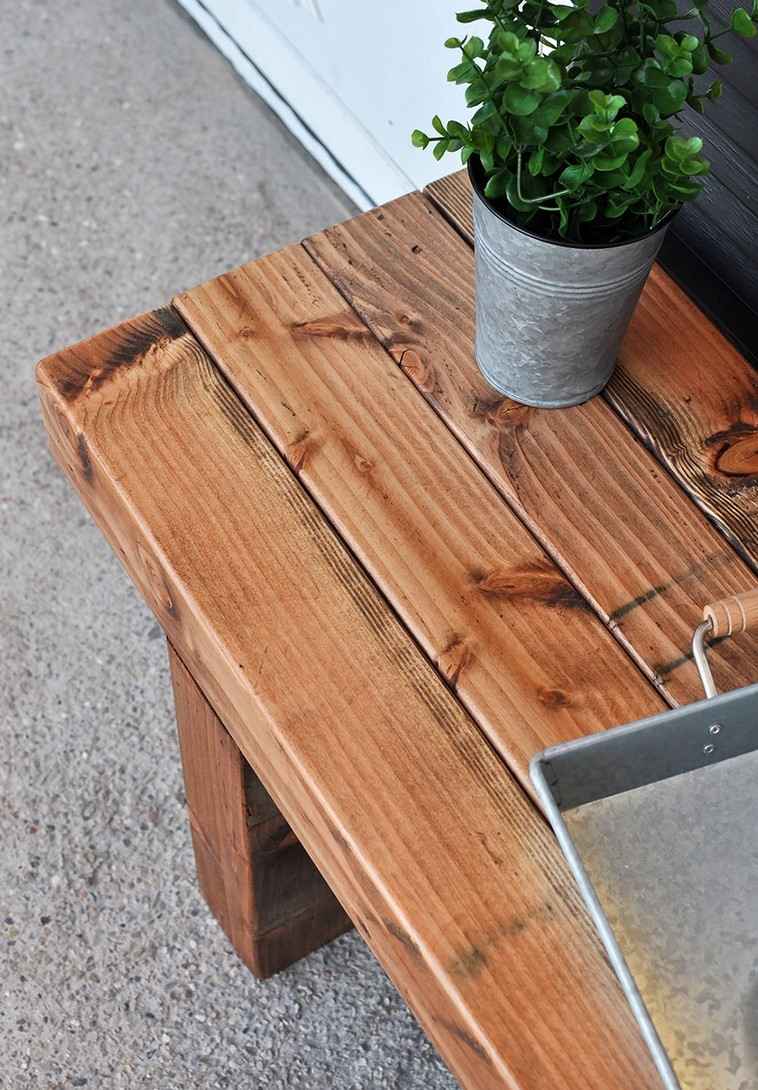 Cheap DIY garden bench: four tutorials in photos | 32/40
Below you will find a stylish bench model, made of wood and with golden feet. It is designed at the base to serve as a shoe cabinet with additional storage space. However, it can be seen installing on a modern outdoor terrace.
View in gallery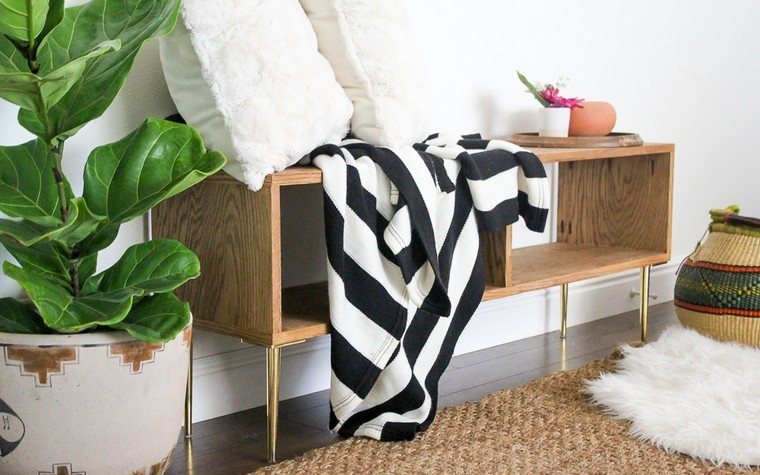 Cheap DIY garden bench: four tutorials in photos | 33/40
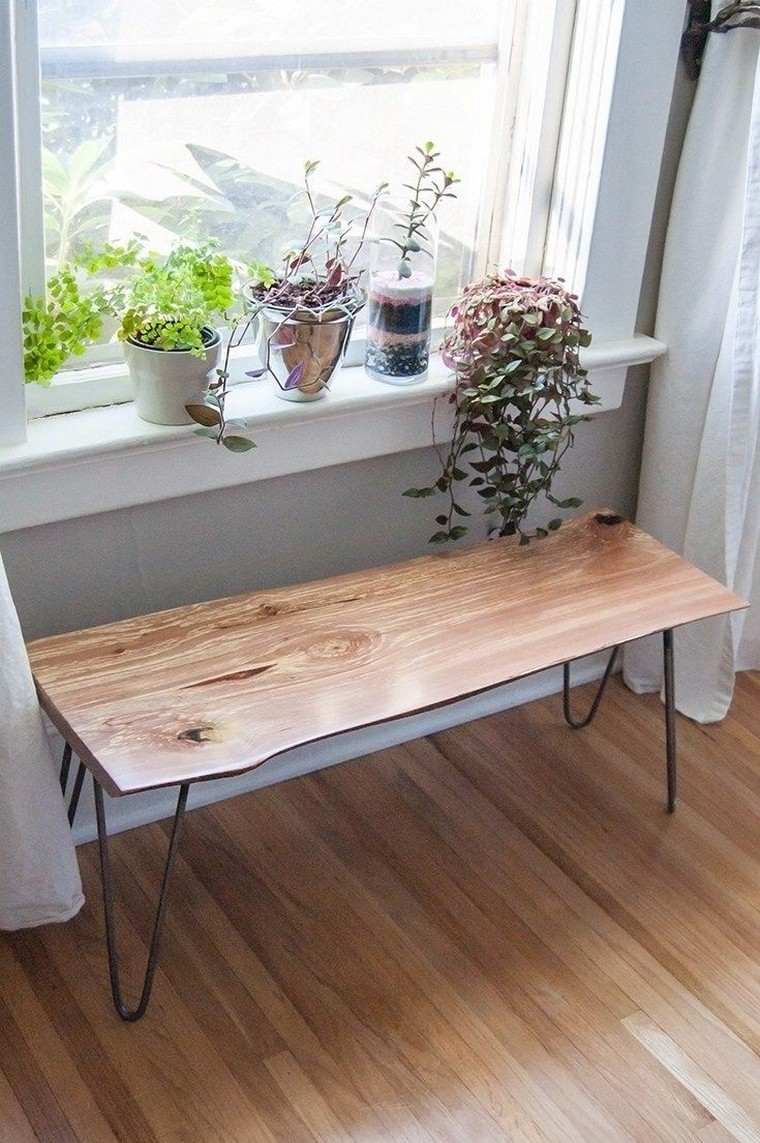
The bann is easy to integrate everywhere thanks to its simple structure. Most often, it is only equipped with a base for sitting and feet. After the coffee table, it is undoubtedly the second easiest furniture to manufacture.
View in gallery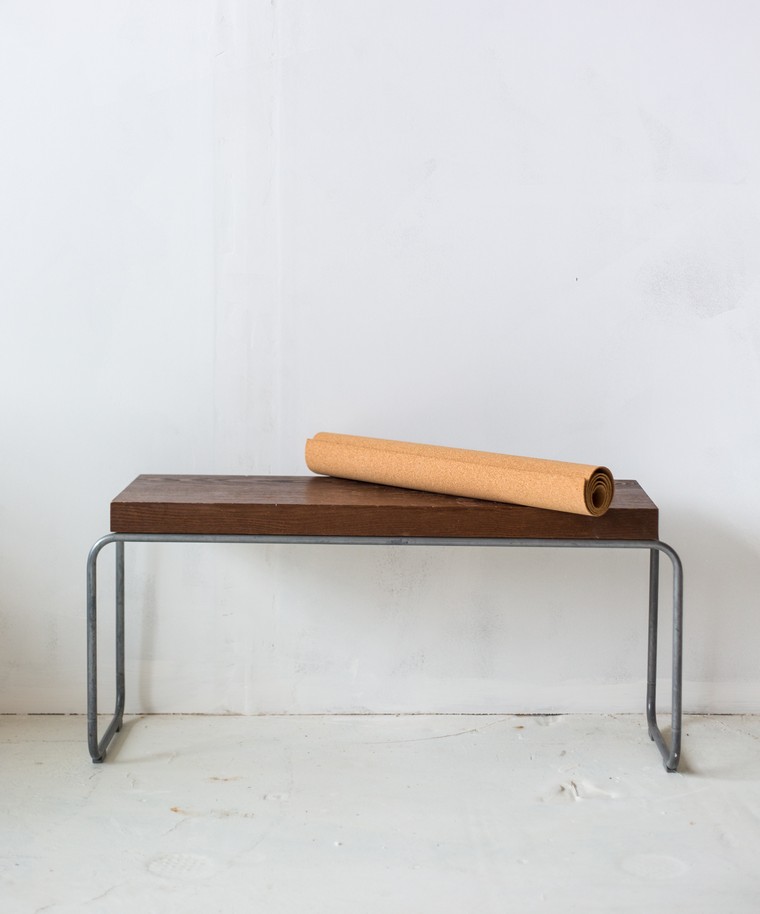 Cheap DIY garden bench: four tutorials in photos | 34/40 View in gallery
 Cheap DIY garden bench: four tutorials in photos | 35/40
Bench made of plywood
View in gallery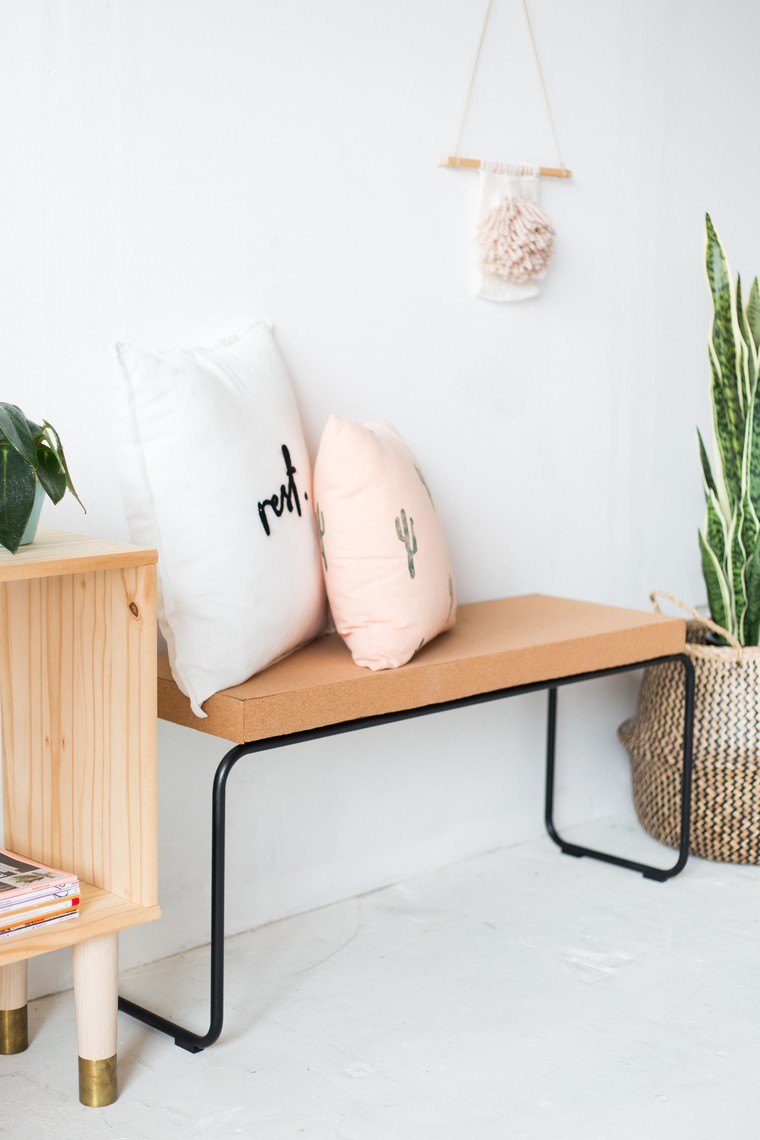 Cheap DIY garden bench: four tutorials in photos | 36/40
Below you will find a model of a rustic style garden bench. It was made from old wooden furniture.
View in gallery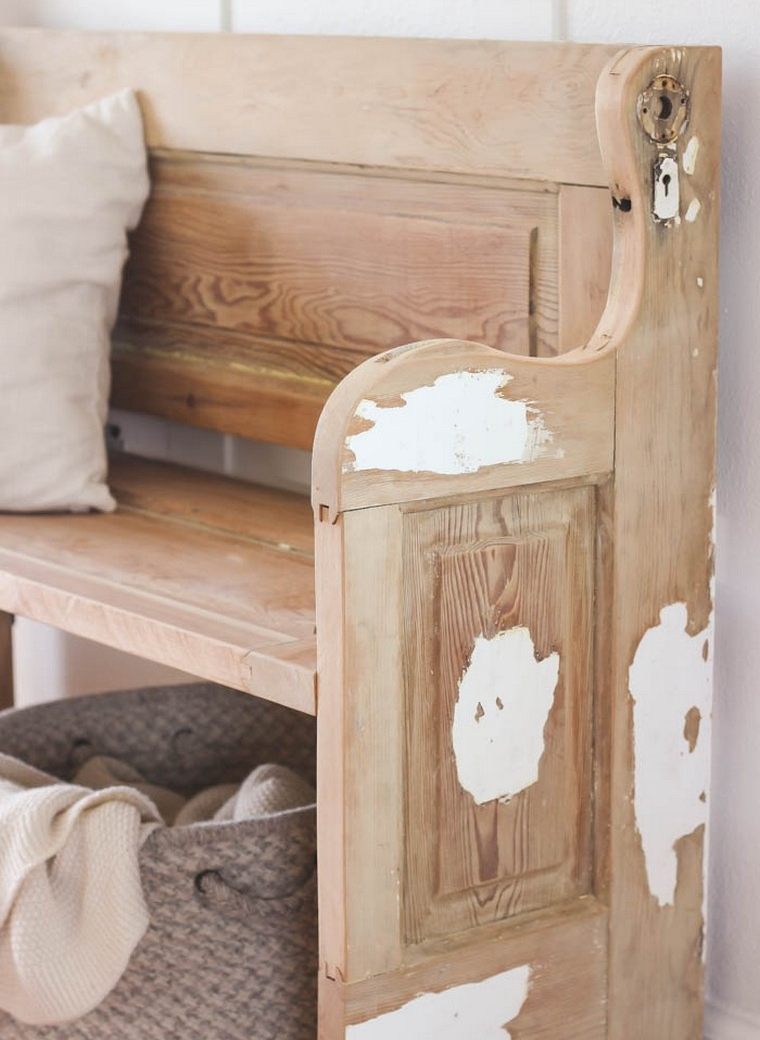 Cheap DIY garden bench: four tutorials in photos | 37/40
Wood and faux leather marry below to form a bench (garden) very stylish. We also love the macrame wall decor!
View in gallery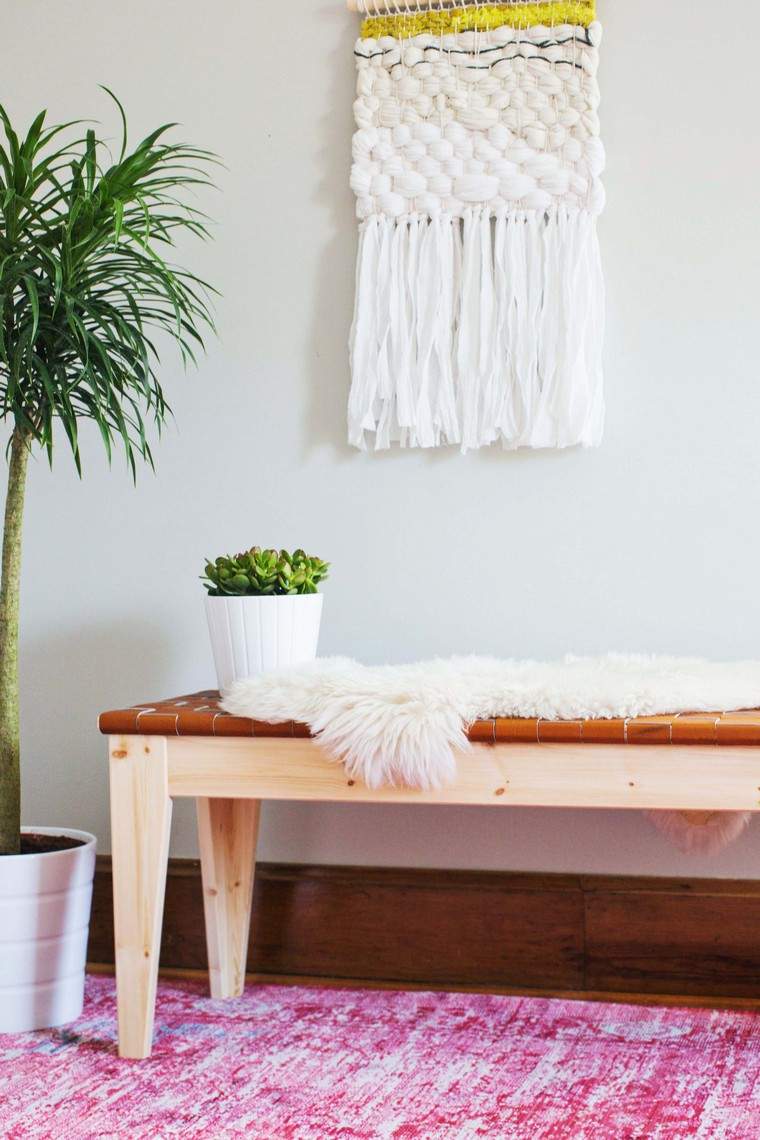 Cheap DIY garden bench: four tutorials in photos | 38/40
Idea of bench made of woodView in gallery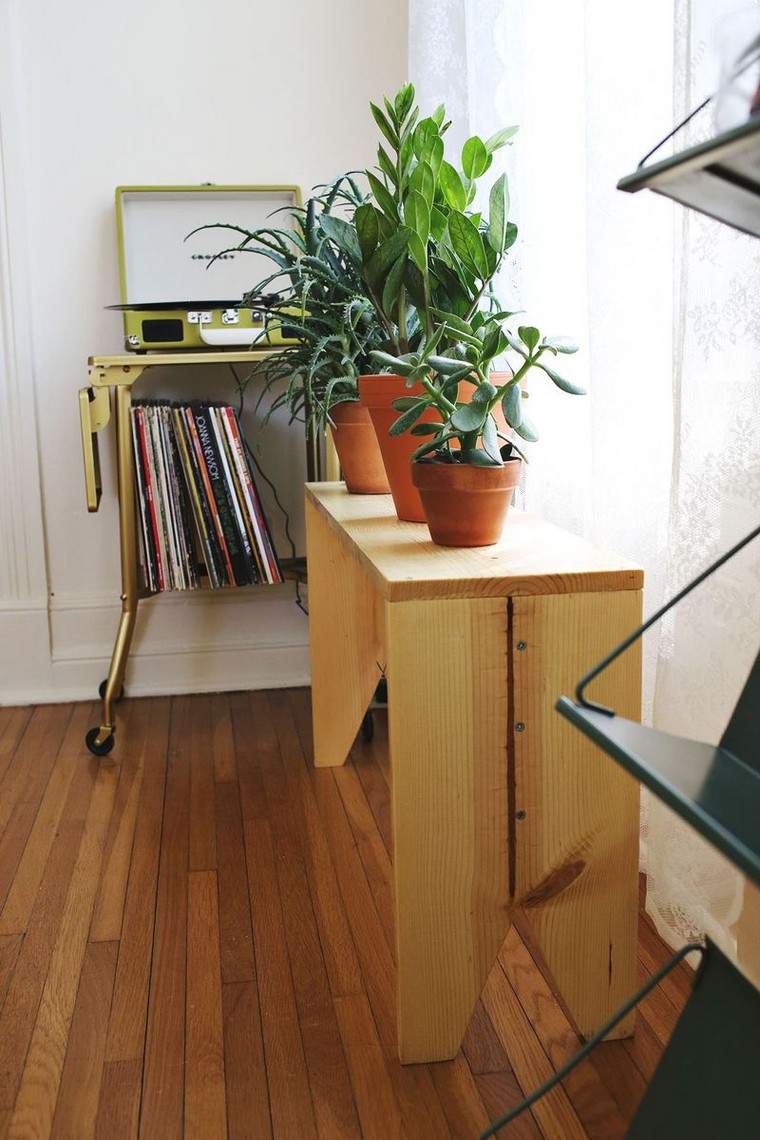 Cheap DIY garden bench: four tutorials in photos | 39/40View in gallery
 Cheap DIY garden bench: four tutorials in photos | 40/40
Sources:
* Urban Outfitters
* The Vintage Rugs Shop
* The Merry Thought
Liliane Morel in