View in gallery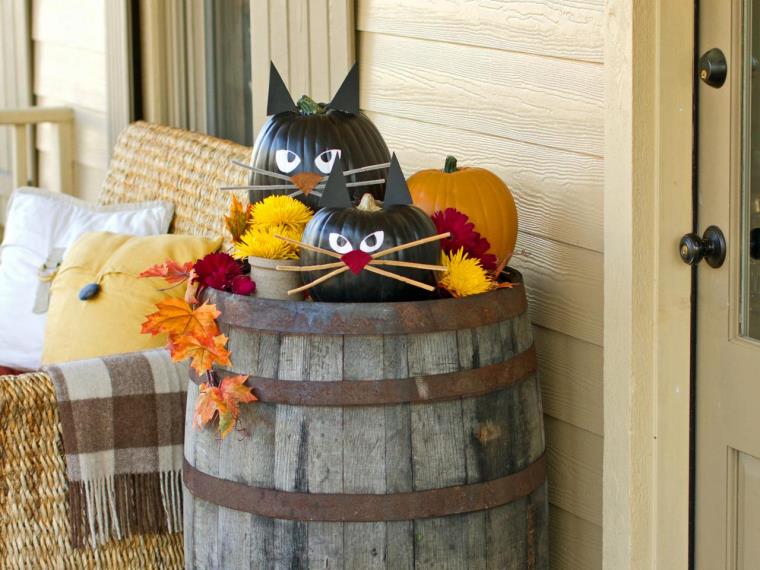 Halloween DIY Idea – tutorials and do-it-yourself DIY tips | 1/20
October 31st is approaching and it’s time to think about the decoration that will accompany your Halloween party. Young and old, all rejoice! Weeks and weeks before that date the stores are full of costumes and decorations for this big day.
But why spend so much money, then we can make our own DIY Halloween decor. In addition, it is not complicated. One or two weekends will be enough for you to tinker and have the desired haunted house.
And we are here to help you! This article is dedicated to you. We will introduce some ideas
DIY Halloween decor
that you can discover in pictures. Watch our tutorials and tips and you can do wonders alone or with family. In most of our tutorials you will discover decorations made from recovered objects. We will show that we can save money while remaining green!
View in gallery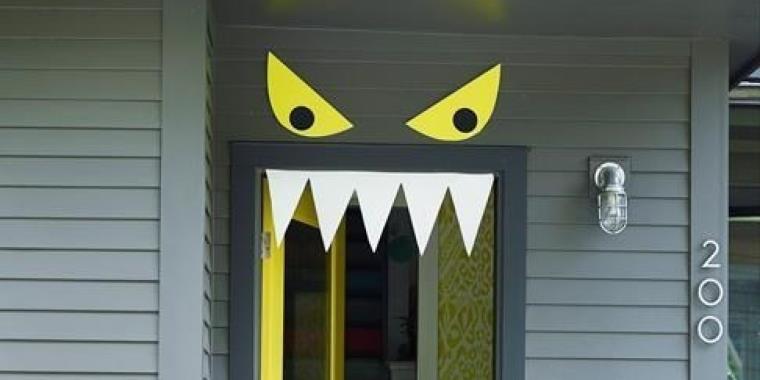 Halloween DIY Idea – tutorials and do-it-yourself DIY tips | 2/20
Before starting your Halloween decor projects, you must focus on a subject. You want a rather creepy, scary or cute decor? Of course, this does not prevent you from mixing styles. What are the essential elements for your DIY Halloween decor? When we refer to Halloween, we immediately refer to pumpkins, cobwebs, ghosts, candles and treats.
View in gallery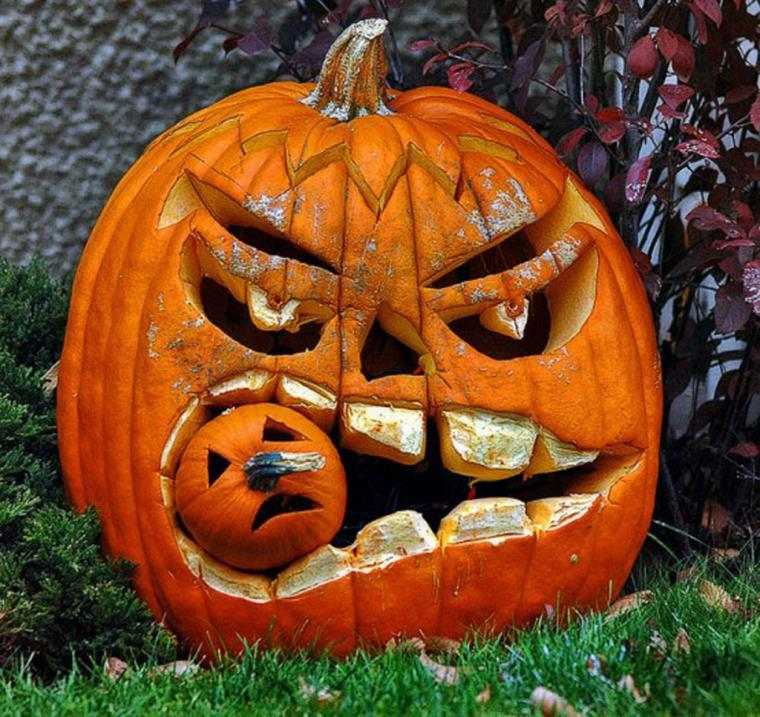 Halloween DIY Idea – tutorials and do-it-yourself DIY tips | 3/20
So let’s start with the pumpkin, symbol of this big party of October 31st. What is Halloween without this element of decoration? Everyone, even a child, can create a Halloween pumpkin.
First of all, it is very necessary to buy a big pumpkin at the market. The smoother it is, the easier it will be to work. Then, you must bring a sturdy tooth knife. To begin, you have to dig the pumpkin with a spoon. Choose a solid and thick because there will be work to do! For this, wash the pumpkin under water and draw the outline of the pumpkin hat, just above, using a felt. Now you are ready to empty. It is important to empty everything, otherwise the pumpkin may rot. In addition, the finer it is and the better the light will pass.
Quick tip: Do not throw away everything inside. You can use the flesh of the pumpkin to make a good homemade soup or cake. Also note that the pips are delicious when roasted in the oven and ideal for a drink.
As soon as it’s done, draw the patterns by contouring on them and cut them out with your tooth knife. If you ever remove a part by accident, put it back using toothpicks. Once done, you can drop a candle. Expose your pumpkin outside, so it will hold longer and will not attract midges.
View in gallery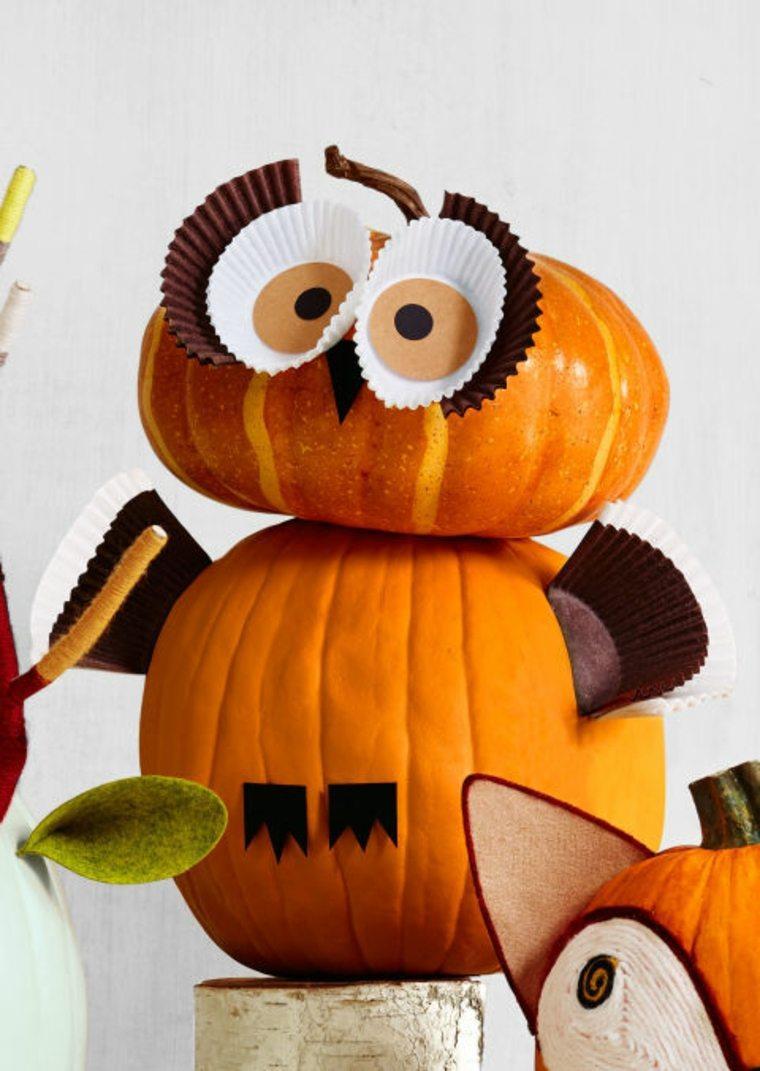 Halloween DIY Idea – tutorials and do-it-yourself DIY tips | 4/20
Staying in the same spirit, you can make lots of DIY Halloween deco with pumpkins, as you can see in the photo above. In this case, choose smaller pumpkins and hang them together using toothpicks. For the rest, be imaginative.
View in gallery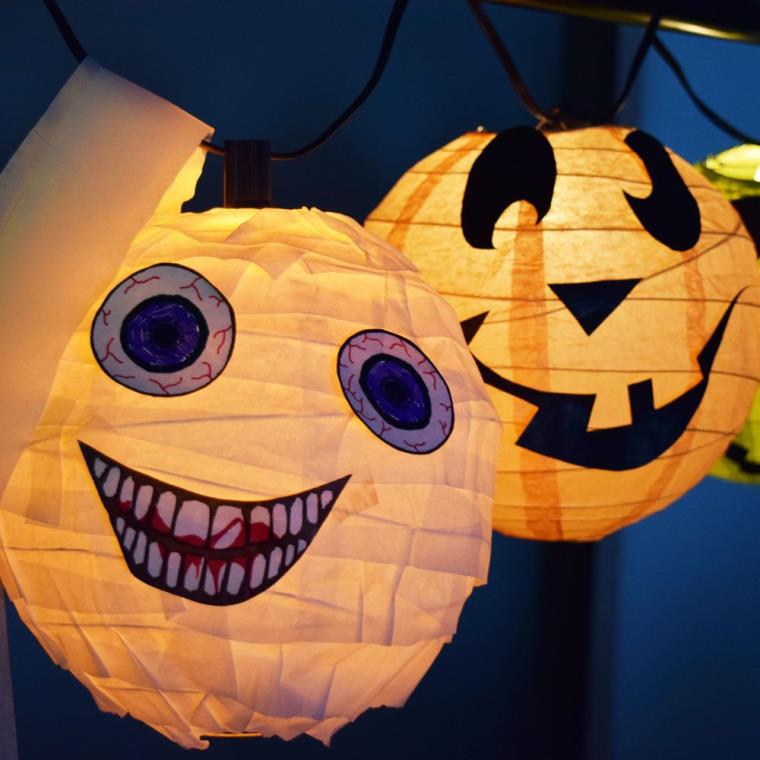 Halloween DIY Idea – tutorials and do-it-yourself DIY tips | 5/20
Trick or treats !
Tradition has it that on Halloween night children dressed in costume go door to door asking for treats. First popular in United States and water United Kingdom, today we find more and more children in the streets of France. This tradition has become so contagious that more and more people are thinking of decorating their homes both inside and out. And those who have gardens go further, creating false cemeteries, ghosts and skulls, so to speak, to drive away evil spirits.
View in gallery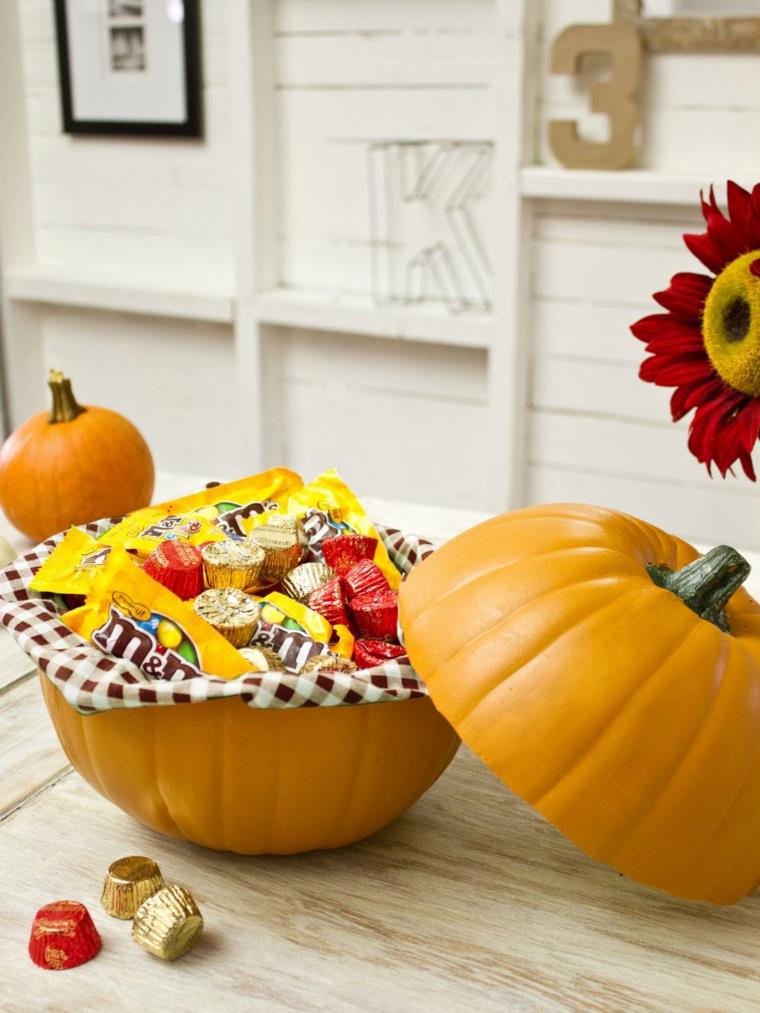 Halloween DIY Idea – tutorials and do-it-yourself DIY tips | 6/20
But when the little monsters arrive in front of the front door, we want to be prepared to avoid bad pranks. The day before Halloween is a real madness. Everyone throws themselves to buy treats. But how to offer them to children?
Here is an original Halloween DIY idea to make in no time
The principle is simple. Buy a medium sized pumpkin. Have a strong hand cut it in half, if possible with a saw. Then empty it and add all the candy it can hold. And the rest … we eat it of course!
View in gallery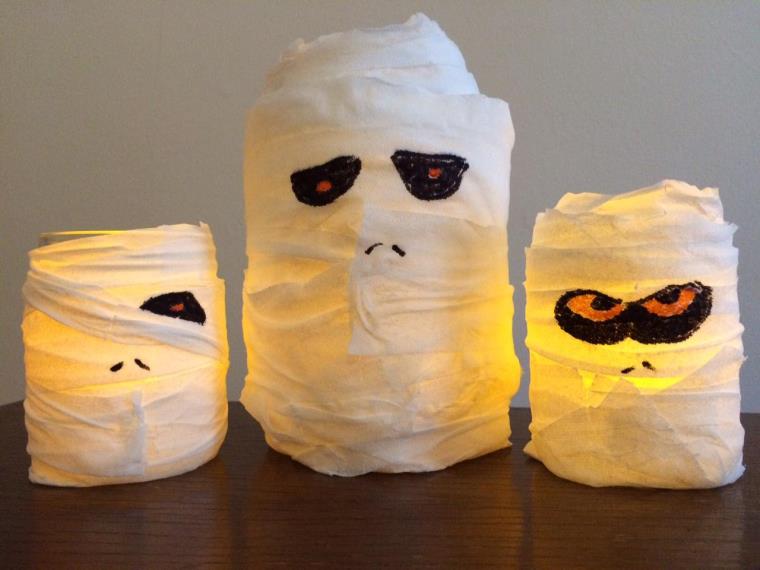 Halloween DIY Idea – tutorials and do-it-yourself DIY tips | 7/20
Let’s move on to some small DIY Halloween decor elements to realize for our outdoor space. For starters we offer everything you need – the jar decoration. We all have old jars in the cupboards. It’s time to take them out! You can do wonders with – ghosts, pumpkins, zombies, mummies and others.
In the case of the photo above, the jars were wrapped in simple white paper and were drawn with black markers. Add a small candle to create a mysterious atmosphere.
View in gallery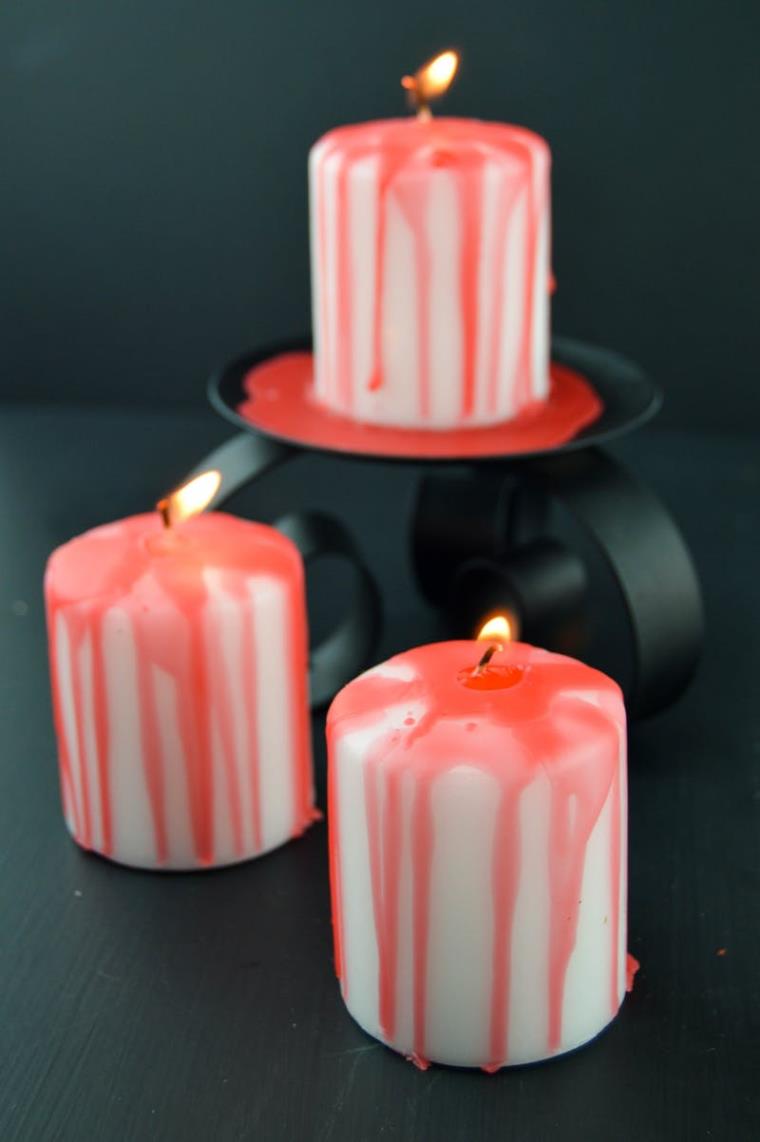 Halloween DIY Idea – tutorials and do-it-yourself DIY tips | 8/20
And speaking of candles, we will show you how to make a sobbing candle. These candle decorations are really easy to make as a last minute Halloween decor. We use two different types of wax to give the impression that a regular white candle is bleeding and when the lights are off and the candles are lit, they are rather scary. In this case, a red candle is used for “blood”. Place the red candle in a pot and heat over medium heat. Look carefully until the wax is completely melted, then pour the wax little by little around the edges of your white base candle. Easy, right?
View in gallery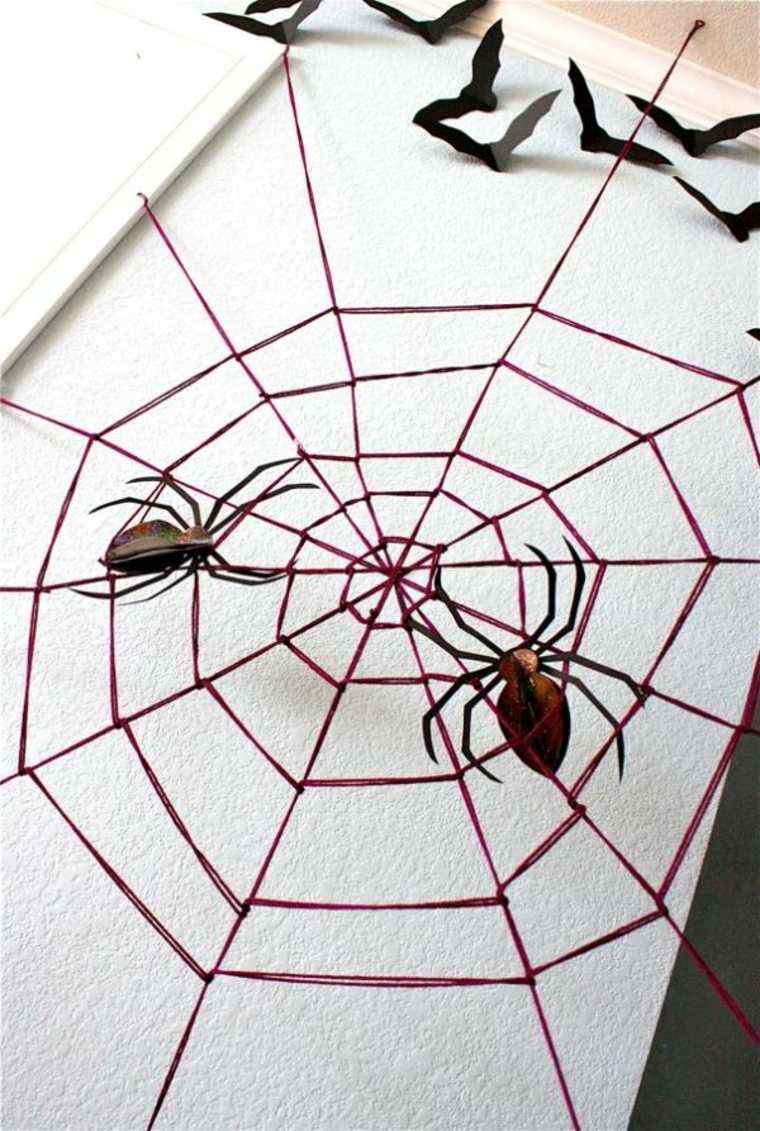 Halloween DIY Idea – tutorials and do-it-yourself DIY tips | 9/20
Spider webs are an important part of Halloween decor. In this case, you would need simple wire of the color you want. Cut the string in half, positioning them horizontally and vertically so that they cross each other. Tie a thread into one of the corners of the cross. He must go outward. Repeat so on with three more strings. To weave your spider’s web, form a spiral around the knot-knot rays.
View in gallery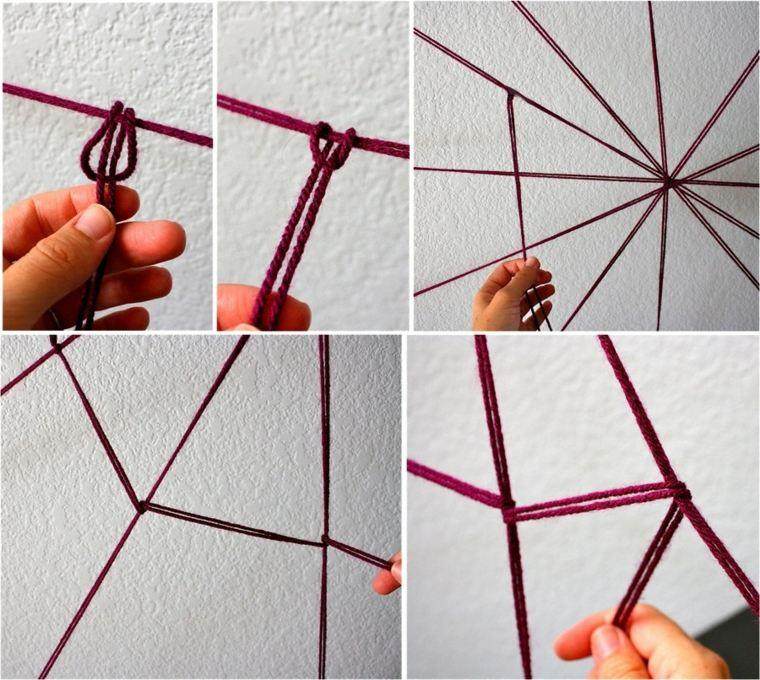
Halloween DIY Idea – tutorials and do-it-yourself DIY tips | 10/20
If you look closely at the photo here, you’ll see it’s very simple.
View in gallery Halloween DIY Idea – tutorials and do-it-yourself DIY tips | 11/20
View in gallery Halloween DIY Idea – tutorials and do-it-yourself DIY tips | 12/20
View in gallery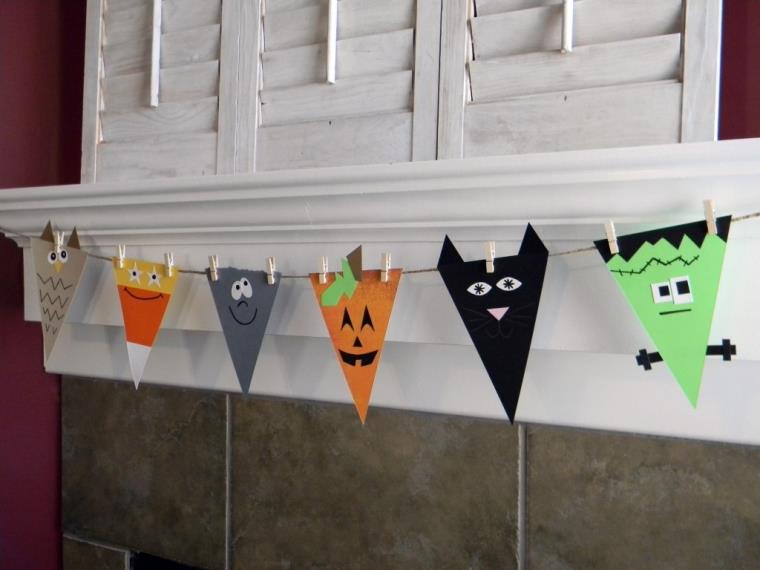 Halloween DIY Idea – tutorials and do-it-yourself DIY tips | 13/20
View in gallery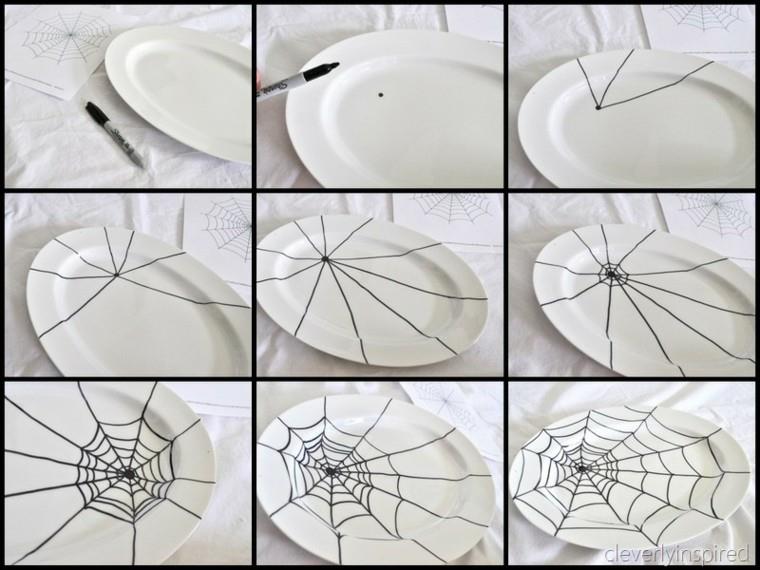 Halloween DIY Idea – tutorials and do-it-yourself DIY tips | 14/20
View in gallery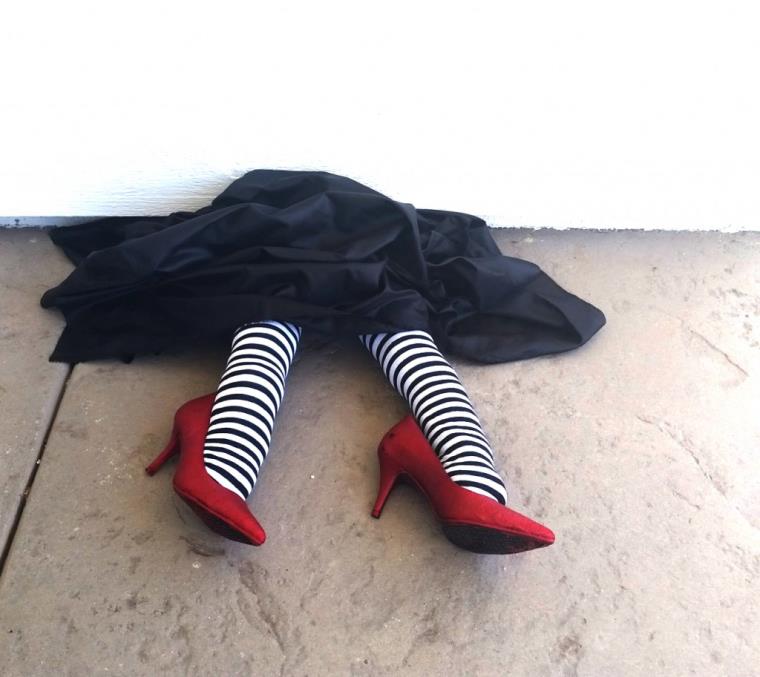 Halloween DIY Idea – tutorials and do-it-yourself DIY tips | 15/20
View in gallery Halloween DIY Idea – tutorials and do-it-yourself DIY tips | 16/20
View in gallery Halloween DIY Idea – tutorials and do-it-yourself DIY tips | 17/20
View in gallery Halloween DIY Idea – tutorials and do-it-yourself DIY tips | 18/20
View in gallery Halloween DIY Idea – tutorials and do-it-yourself DIY tips | 19/20
View in gallery Halloween DIY Idea – tutorials and do-it-yourself DIY tips | 20/20
Annaëlle Duval in