View in gallery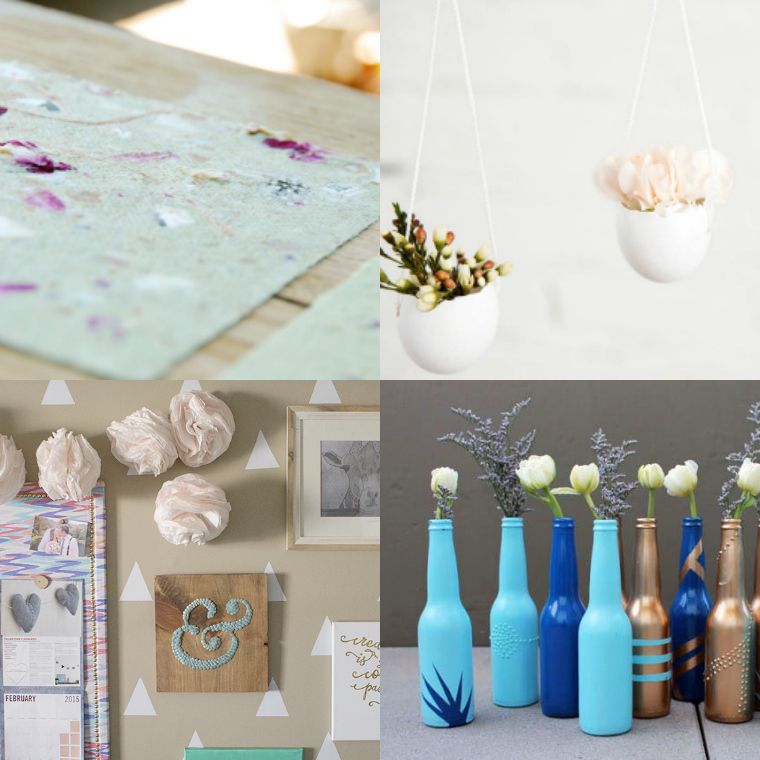 Handicrafts with recycling – 5 tutorials to try with your children | 1/39
Want to realize a DIY deco creative project while recycling old items that will normally go in your sorting bag? And why not involve your children in one of these projects?
It would be a great way to teach the smallest members of your family the importance of recycling the waste and the good things that protect our planet. here is
5 tutorials of manual work with recycling
that you can share with your children. They constitute original ideas of manual recycling activities, provided they accompany the little ones in their realization. Ready to discover them? Let’s go!
Handicrafts with recycling – how to make recycled paper
View in gallery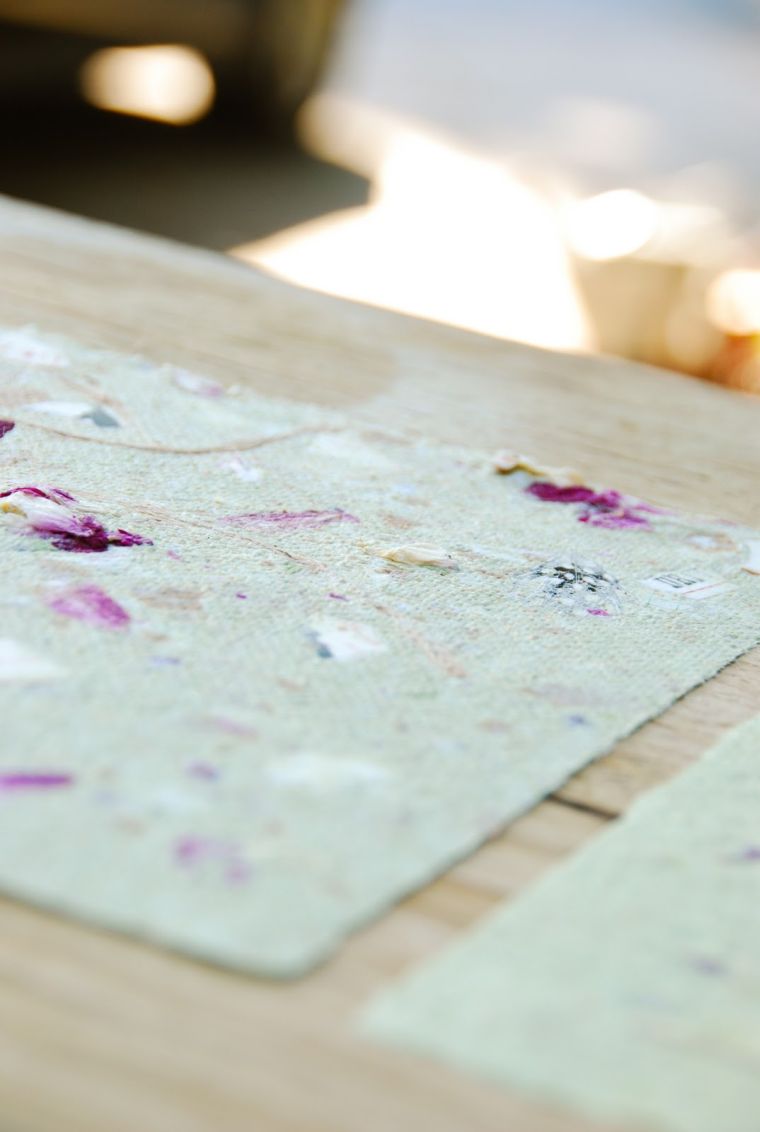 Handicrafts with recycling – 5 tutorials to try with your children | 2/39
Learning how to make paper is a great way to show your kids where this precious resource comes from. It is also an activity that allows us to make personalized sheets of paper. They can then be used for DIY projects with paper, for the creation of various decorations, for greeting cards handmade … In short, it is an exciting recycling project and quite useful!
View in gallery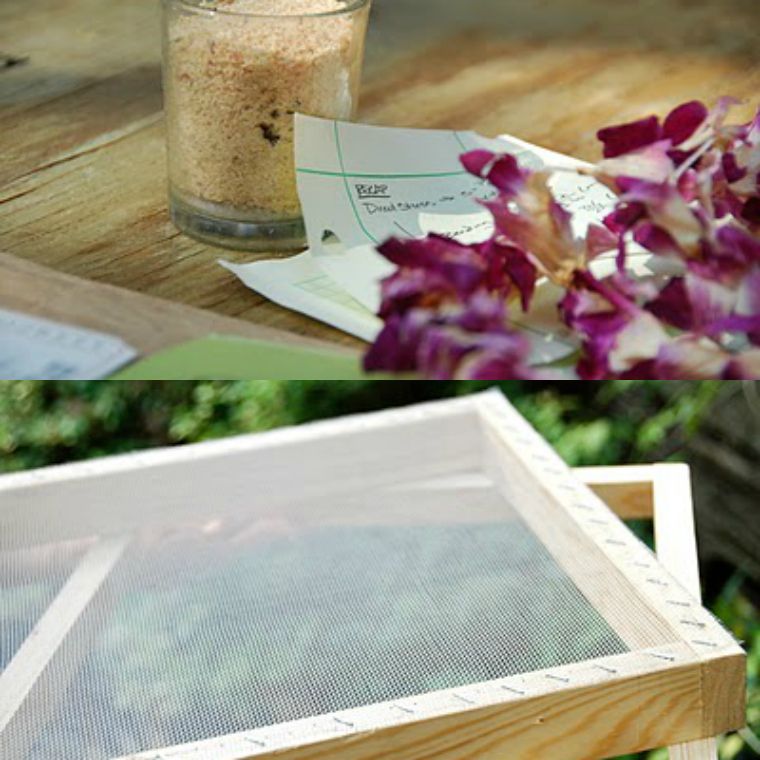 Handicrafts with recycling – 5 tutorials to try with your children | 3/39
And, as you will see in this tutorial by Blue Eye Dyonder, it’s also a fairly simple project that can easily turn into a manual recycling kindergarten activity. Here are the materials needed for this idea of manual work with recycling:
- two wooden frames;
- a net the same size as the wooden frame;
- some water ;
- a blender;
- a sponge ;
- a towel ;
- a container ;
- pieces of torn paper (pubs, newspapers, tickets, drafts …);
- dry flowers or other decorations (optional).
More experienced DIYers can also make the wooden frames themselves. For that, it would be necessary to prepare:
- planks of wood (for a rectangular frame);
- the net;
- a staple gun and staples.
How to make recycled paper – tutorial
View in gallery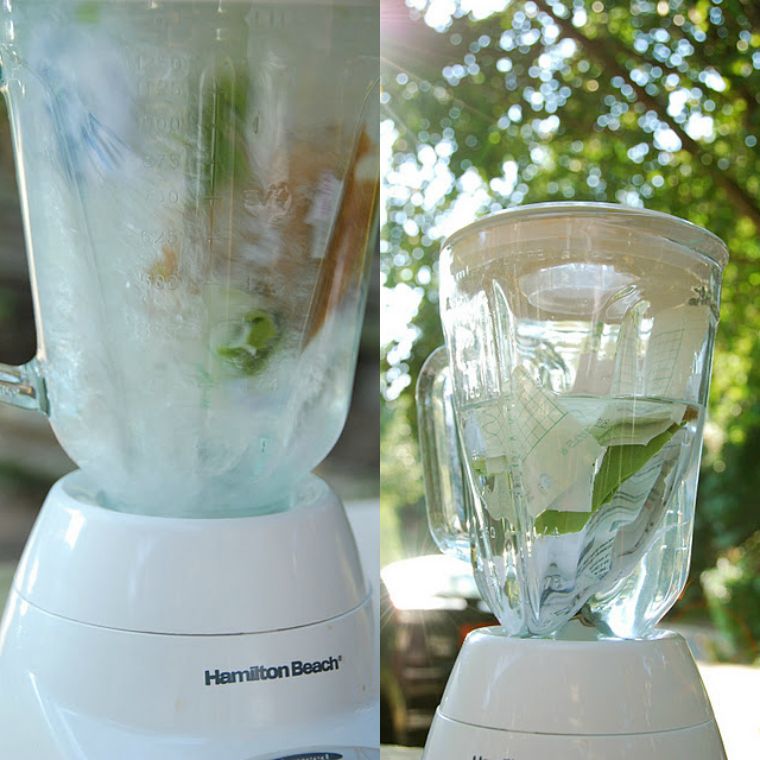 Handicrafts with recycling – 5 tutorials to try with your children | 4/39
For the first step of the tutorial, we begin to prepare a mixture of water and bits of paper. Put the pieces of paper in the blender; then, additional decorations are added. To continue, the container is filled with water so that it covers the other ingredients. We start the blender.
View in gallery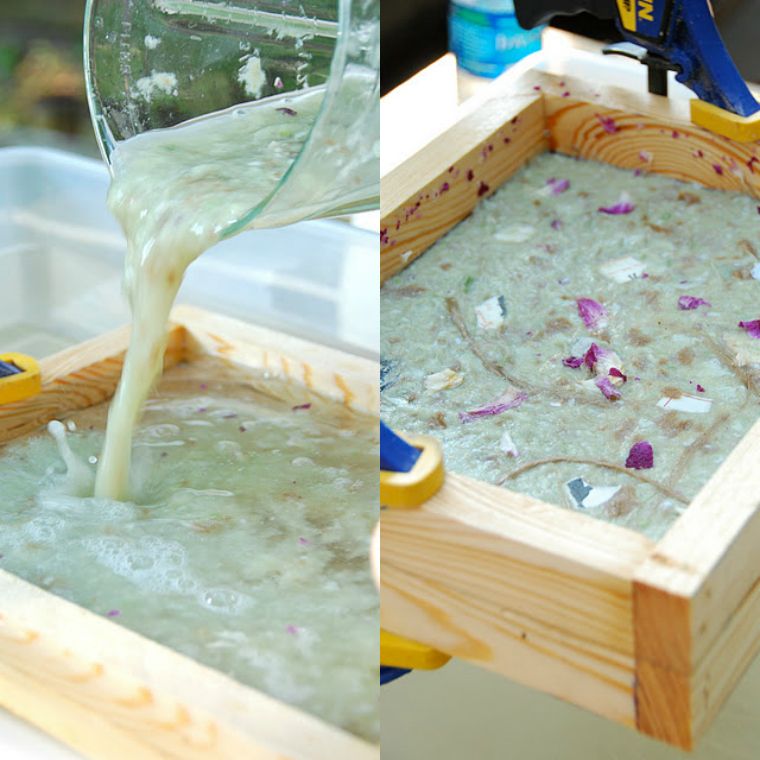 Handicrafts with recycling – 5 tutorials to try with your children | 5/39
Once the mixture is homogeneous, prepare the paper by pouring it into the frame. Then press with a second frame placed just above. To decorate the paper more, we can add even more dried flowers before pressing with the second frame.
View in gallery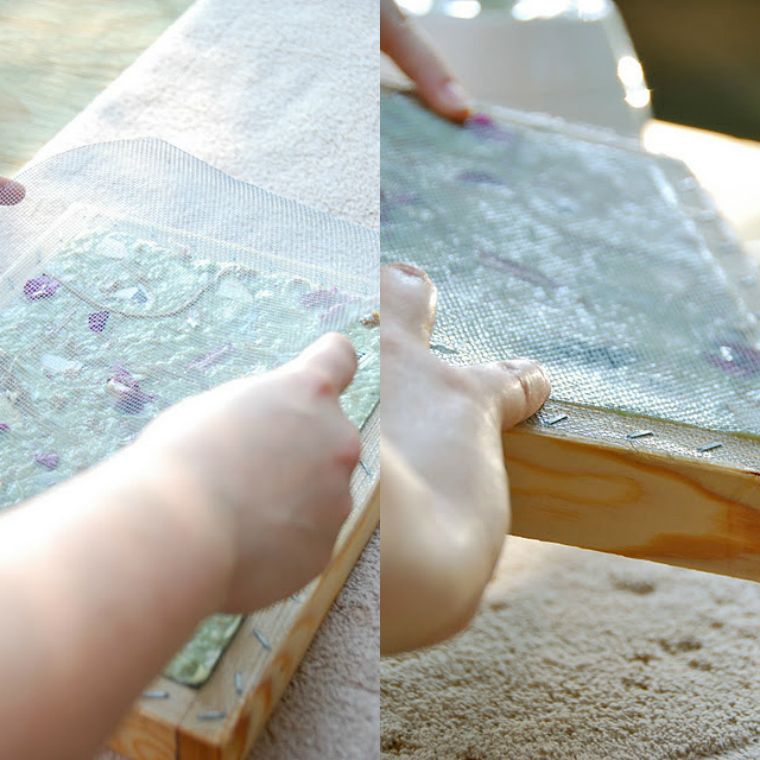 Handicrafts with recycling – 5 tutorials to try with your children | 6/39
When the paper is formed and begins to drain, the time has come to get it out of the box. For this, we remove the part that presses the sheet but we keep the net in place. It is used as a support to remove the wet sheet. Before recovering the leaf, remove the remaining water with a cloth or sponge. Finally, the sheet is passed on a flat surface.
View in gallery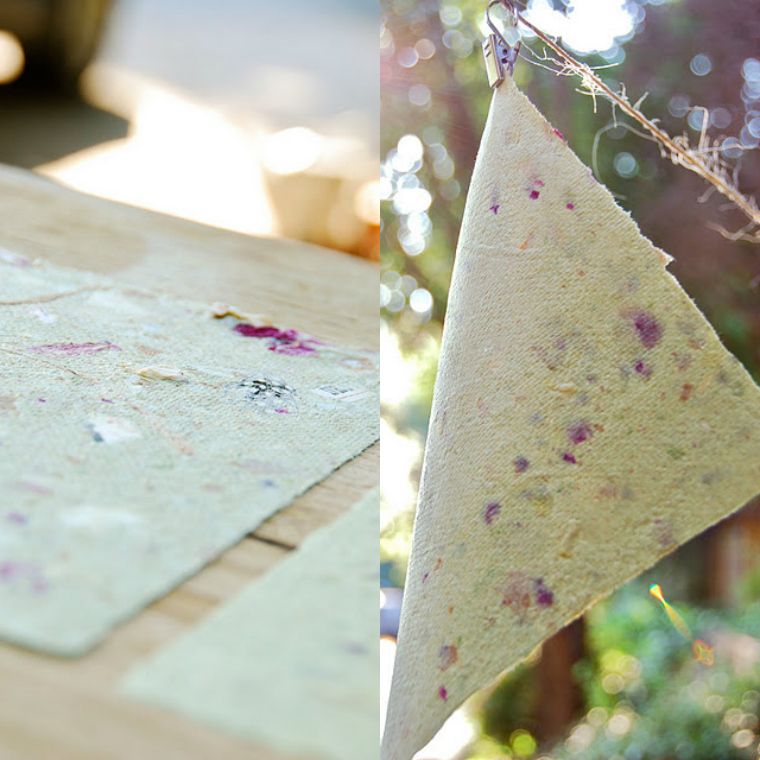 Handicrafts with recycling – 5 tutorials to try with your children | 7/39
The time required for the sheet to be allowed to dry can be allowed to dry and completely dry. If you are in a hurry, it is also possible to accelerate this step. For this, we should place the sheet between two tea towels and dry it with an iron.
Our tip: create scented paper by adding a scent of your choice to the mix of scraps of paper, decorations and water. Try the effect of dry flowers, essential oils or water scented with rose or lavender!
Manual recycling activity nursery – garland in coffee filters
View in gallery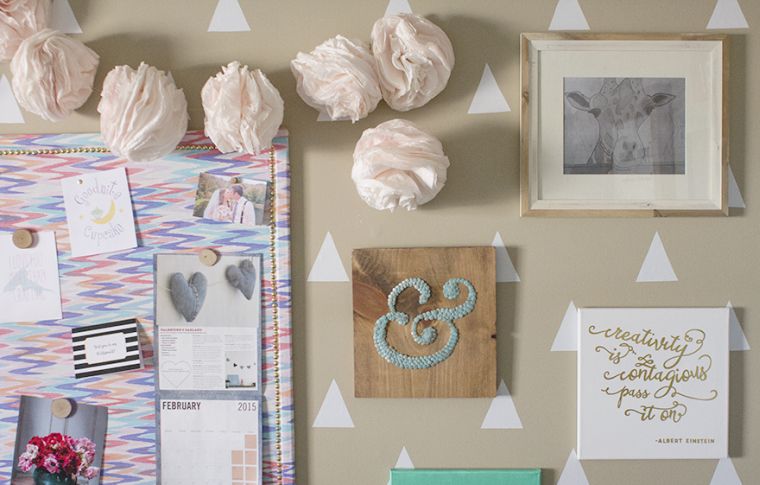 Handicrafts with recycling – 5 tutorials to try with your children | 8/39
The second project on the manual work with recycling that we propose today is also centered on the paper theme. Try it with your child to show him how to make a garland by recycling coffee filters. Here is the list of necessary materials:
- coffee filters (number to be determined according to the size of the garland);
- a fabric or food dye;
- gloves ;
- some water ;
- a container ;
- paper towels;
- a hair dryer (optional);
- scissors;
- a stapler ;
- rope;
- a needle (optional).
View in gallery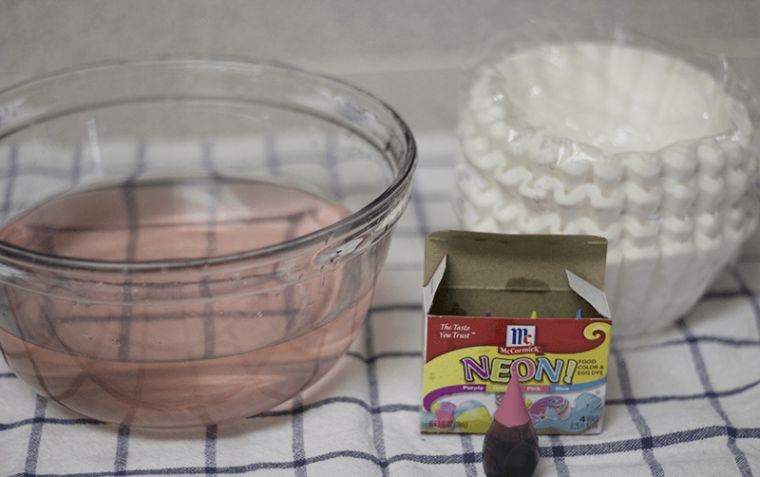 Handicrafts with recycling – 5 tutorials to try with your children | 9/39
How to make a garland of DIY deco recup ‘in coffee filters – tutorial
View in gallery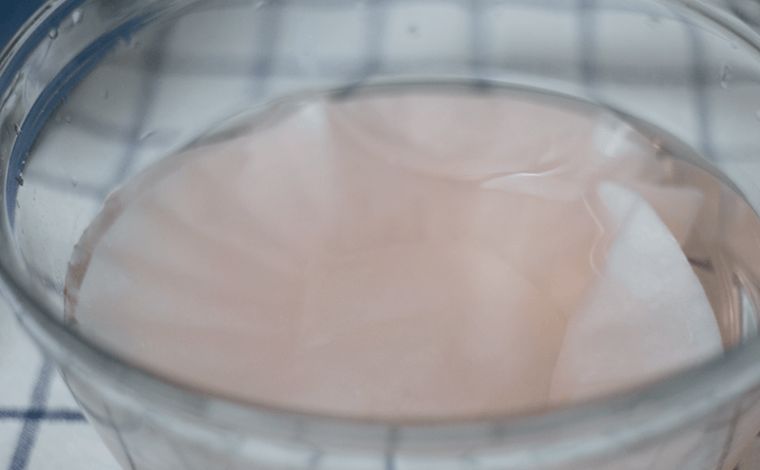 Handicrafts with recycling – 5 tutorials to try with your children | 10/39
This fun manual activity project for adults and children begins with a step of coloring coffee filters. Of course, we can leave the white filters but it is much more fun to give them an interesting color!
View in gallery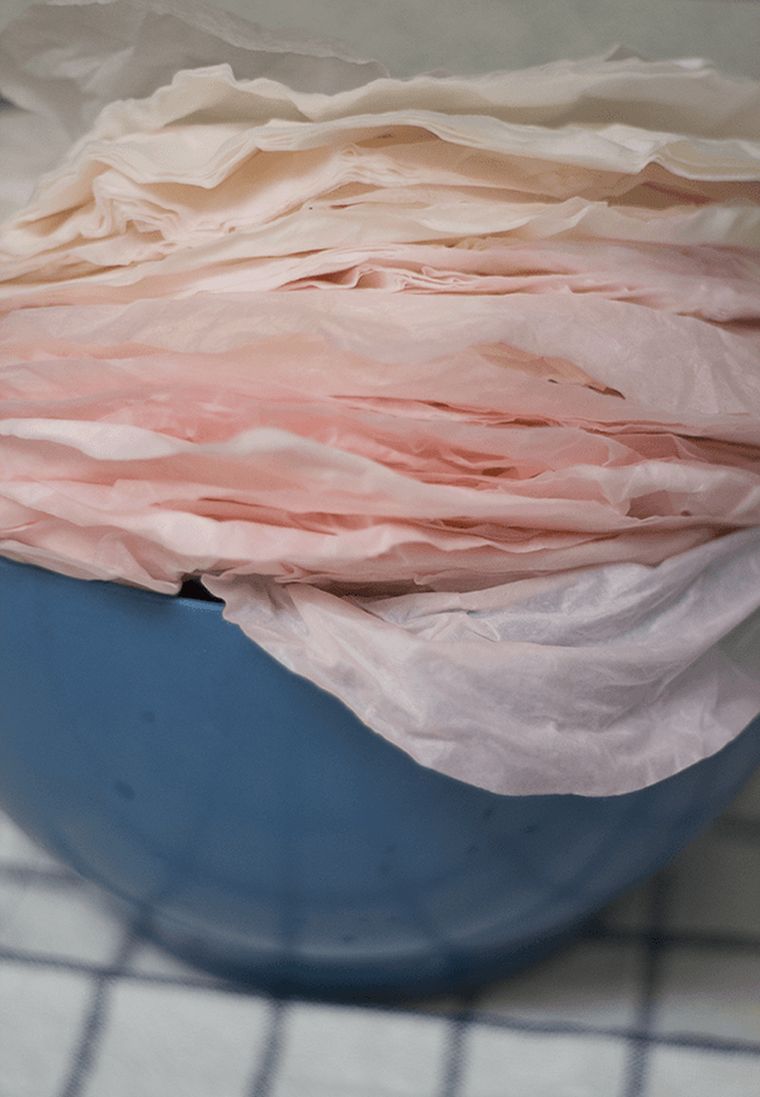 Handicrafts with recycling – 5 tutorials to try with your children | 11/39
For this, a small amount of fabric or food dye is dissolved in a container filled with water. The coffee filters are then immersed for a few moments.
View in gallery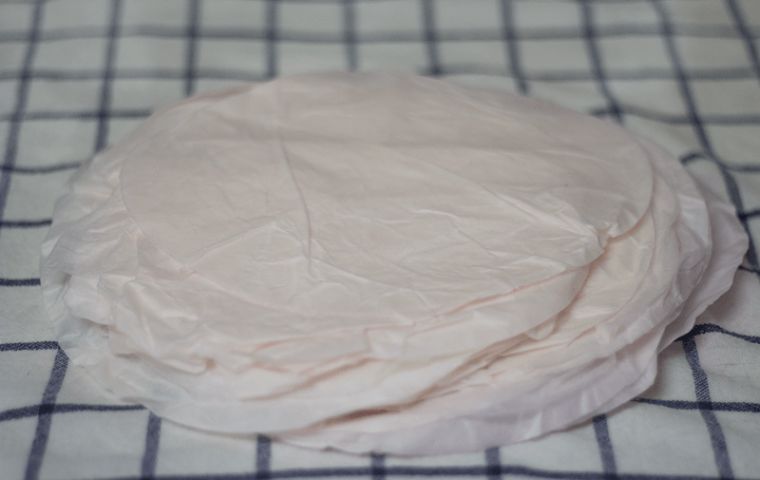 Handicrafts with recycling – 5 tutorials to try with your children | 12/39
For the second stage of this manual labor project with recycling, the filters are removed from the water. Let it dry on a flat surface. To speed up this procedure, you can use a hair dryer. The hot air will allow the filters to dry faster.
View in gallery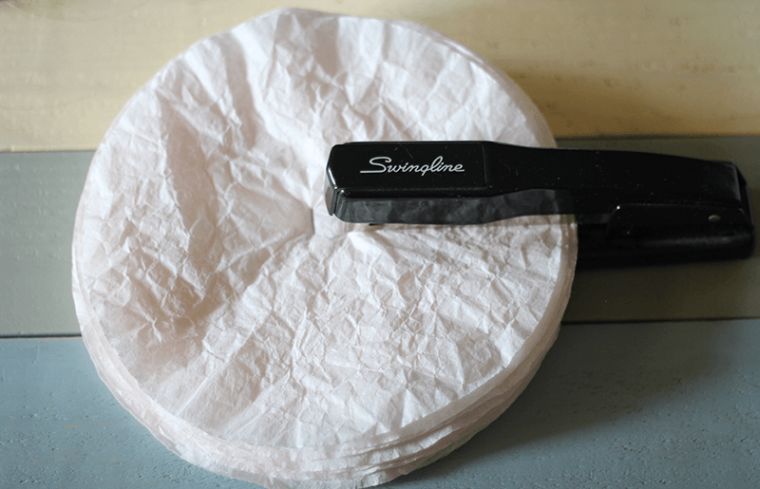 Handicrafts with recycling – 5 tutorials to try with your children | 13/39
Once the coffee filters are dry, we move on to the next phase of this manual recycling activity. It consists of creating flowers from the filters. The flowers are made in the following way: we start by putting several filters on one another.
View in gallery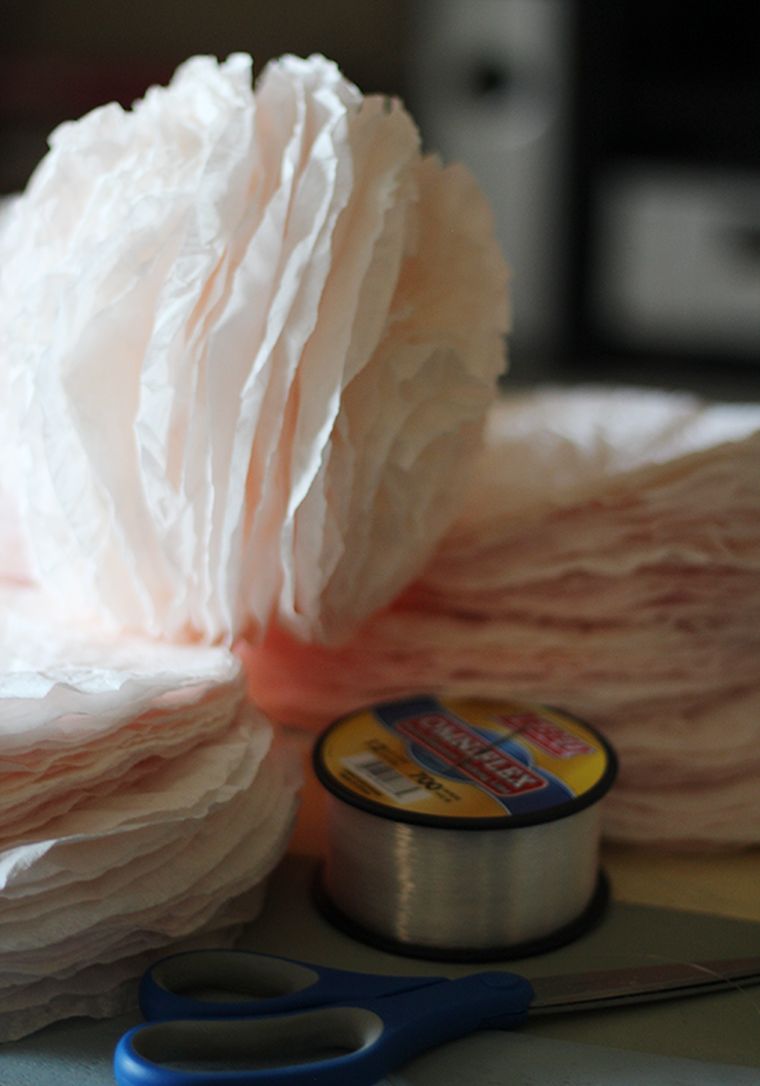 Handicrafts with recycling – 5 tutorials to try with your children | 14/39
Then, using the stapler, they are fixed together by placing two staples in the middle of the filters. In this way, we obtain a flower similar to a rose or a peony.
View in gallery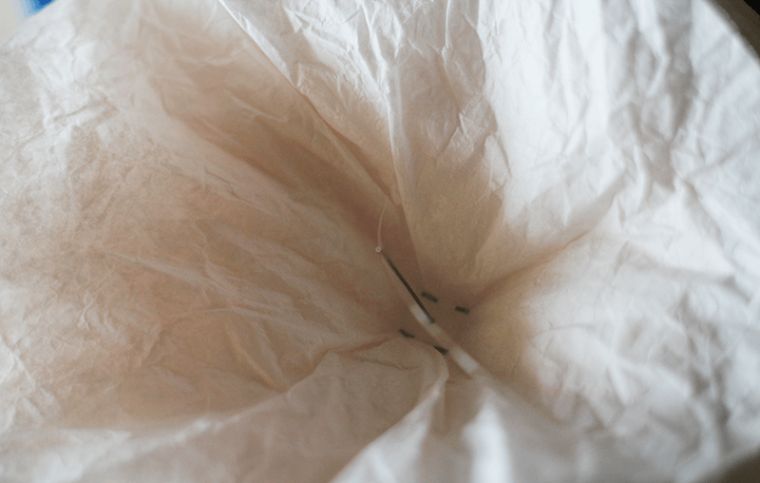 Handicrafts with recycling – 5 tutorials to try with your children | 15/39
The flowers thus obtained are then to be fixed on a wire or a rope; it will serve as a support for the garland. This procedure can be done with a little thread and a needle. It is also possible to staple the flowers or fix them by making small knots along the rope. Finally, we suspend the garland in a corner of its interior space.
View in gallery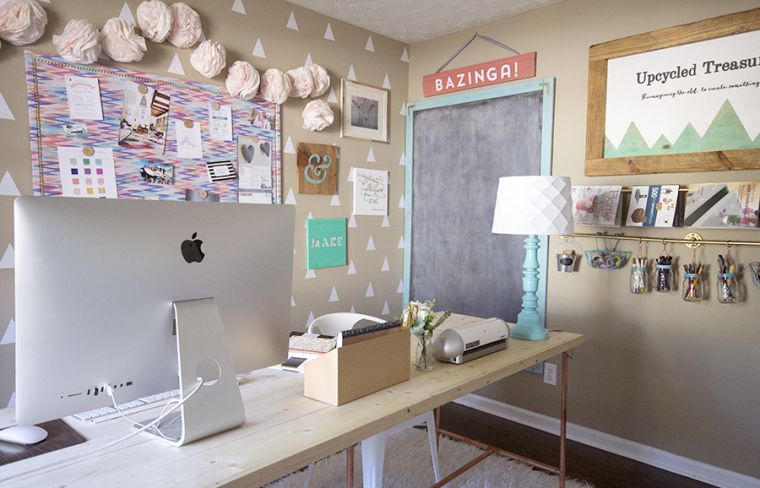 Handicrafts with recycling – 5 tutorials to try with your children | 16/39
This pretty DIY deco idea is ideal for decorating a girl’s room. And since it’s so easy to make, it’s also perfect for decorating a birthday party!
View in gallery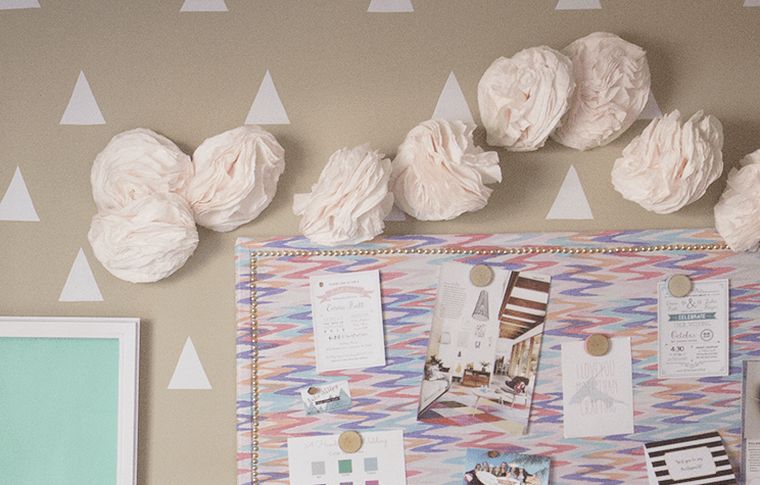 Handicrafts with recycling – 5 tutorials to try with your children | 17/39
Manual activity with recycling – DIY decoration with eggshells
View in gallery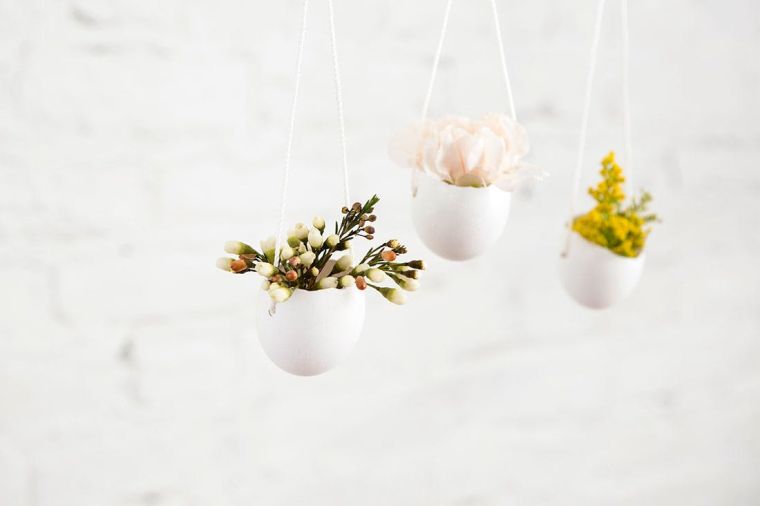 Handicrafts with recycling – 5 tutorials to try with your children | 18/39
Did you know that we can also recycle organic objects to be transformed into original decorative objects? This is the case for eggshells. In this section of our publication on manual work with recycling, we examine an idea of making mini flower pots hanging in this material. Here’s all you need to try this manual activity project:
- eggs ;
- flowers ;
- a rope ;
- a container ;
- a needle.
Realize this project with your children and turn it into a manual activity with kindergarten recycling. You will learn how to recycle organic waste. And you will create together a beautiful decoration of spring or Easter!
View in gallery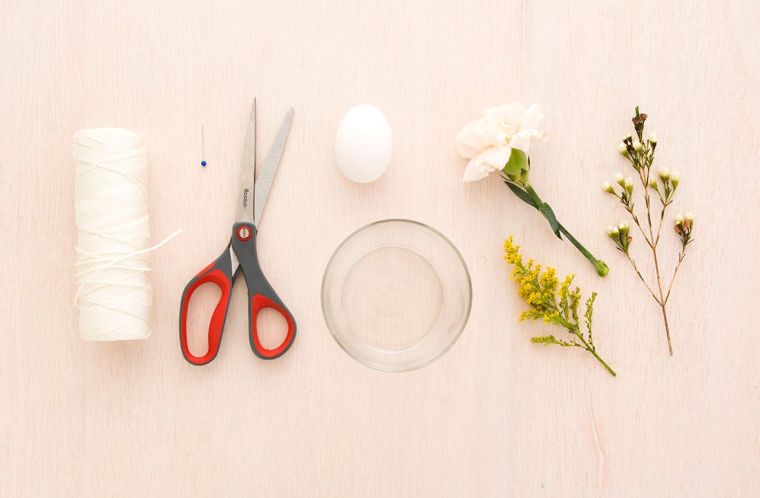
Handicrafts with recycling – 5 tutorials to try with your children | 19/39
How to make mini flower pots using eggshells
View in gallery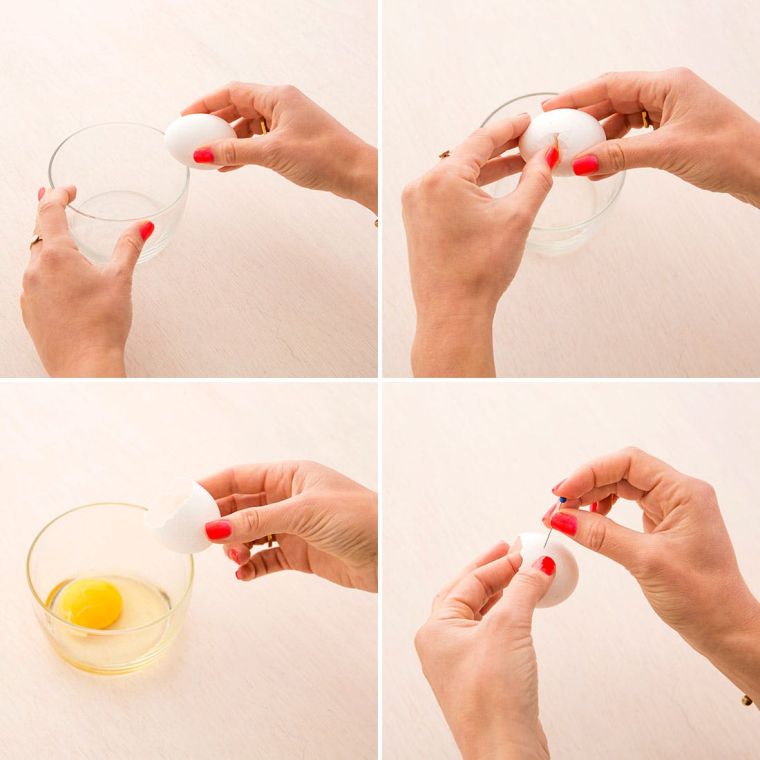 Handicrafts with recycling – 5 tutorials to try with your children | 20/39
For the first step of this tutorial manual activity with recycling, we empty the eggs. For this purpose, the shell is broken in half and poured into the container. Then we continue to prepare the shell: we make two small holes. These must be big enough to introduce the rope. Before continuing, we clean the shell well with water.
View in gallery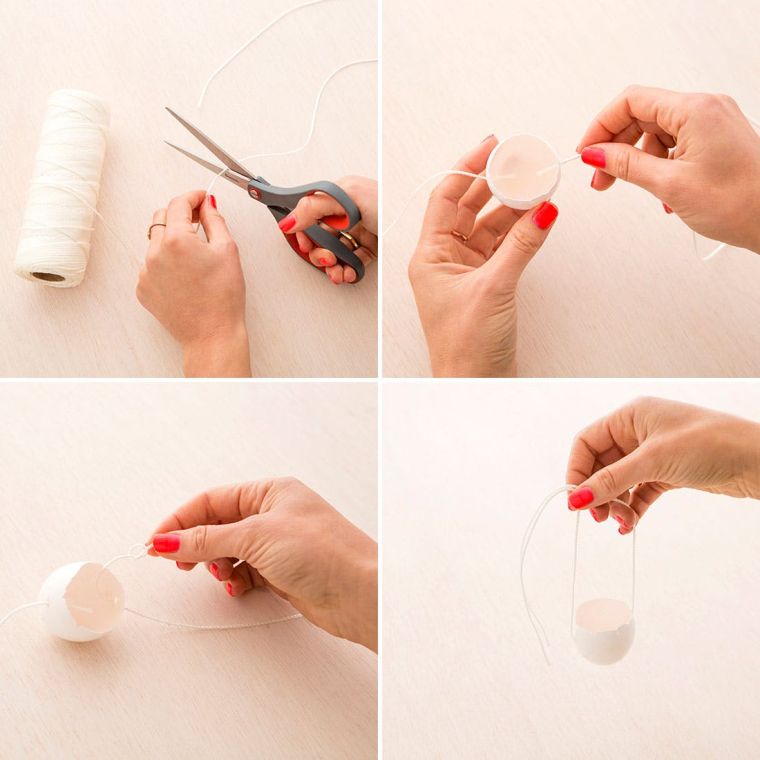 Handicrafts with recycling – 5 tutorials to try with your children | 21/39
We continue with the second step of our tutorial manual work with recycling: introduce the rope or wire chosen inside the shell. This part of the project is a little tricky; so be careful not to break the shell by introducing the wire.
View in gallery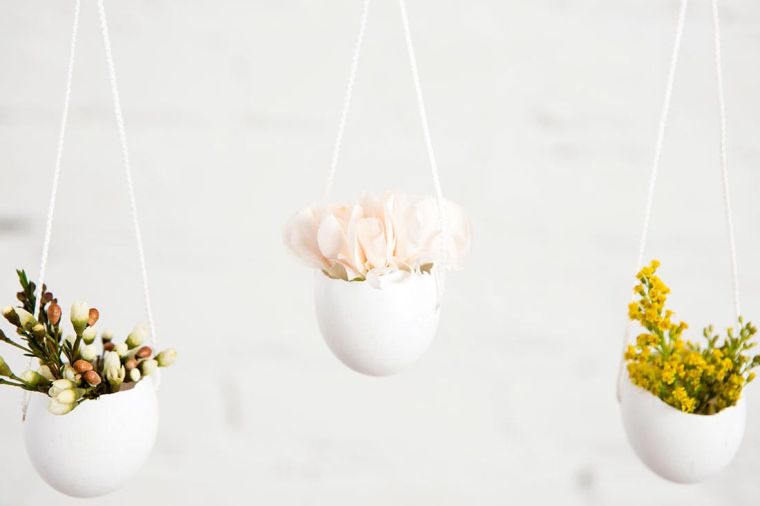 Handicrafts with recycling – 5 tutorials to try with your children | 22/39
Finally, we hang the mini flower pots thus obtained to a rope. We fill them with flowers chosen on occasion and we end up hanging the garland thus created in a room inside!
View in gallery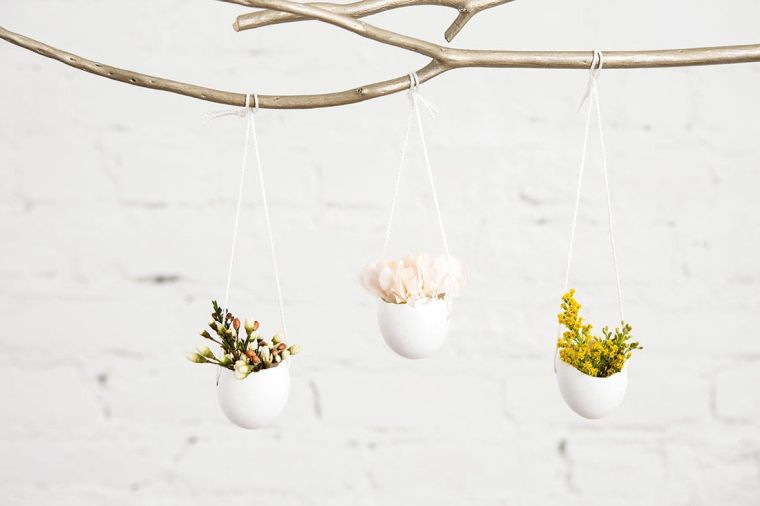 Handicrafts with recycling – 5 tutorials to try with your children | 23/39
Our tip: for an even more original result, try painting the eggs before emptying them. It would be an even more fun project for the little ones, ideal for a DIY Easter decoration in color!
Handicrafts with Recycling – DIY Deco and Office Storage
View in gallery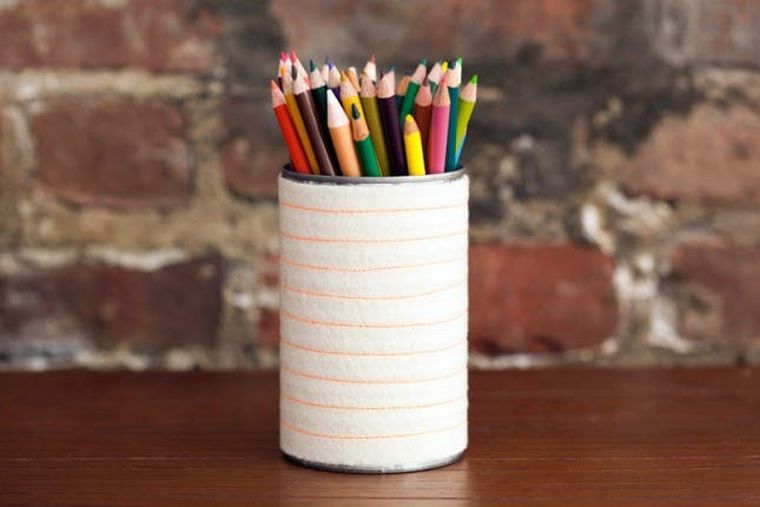 Handicrafts with recycling – 5 tutorials to try with your children | 24/39
If you’re like us, you probably buy a lot of canned goods. These empty metal containers usually end up in the trash. But there are many interesting ways to recycle, while creating useful objects for the decoration of his living space. Our series of handwork ideas with recycling continues with a practical storage making idea in a can of this kind. The materials needed for this manual activity are:
- an empty can in cleaned;
- tissue ;
- Velcro-type Velcro tape;
- scissors;
- of the son;
- a sewing machine (optional);
- a needle.
This small office storage is ideal for collecting pens and pens on your child’s table. If he likes manual recycling activities, why not try to do this together?
View in gallery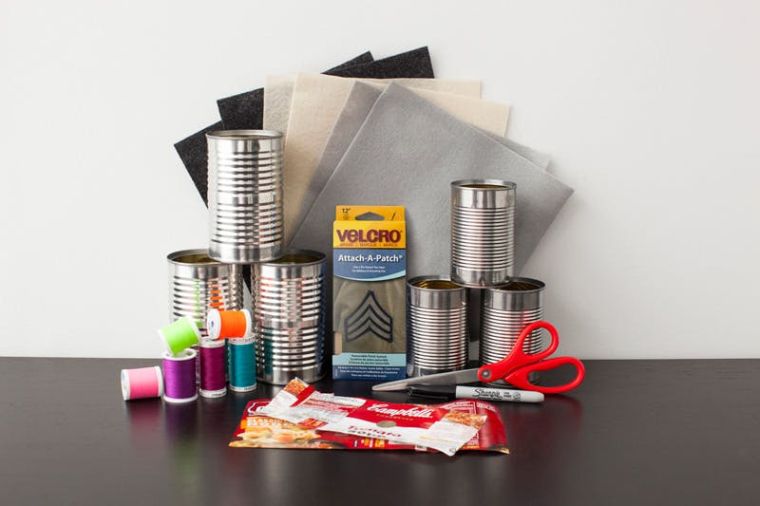 Handicrafts with recycling – 5 tutorials to try with your children | 25/39
How to make a desktop storage in recycled metal can – tutorial
View in gallery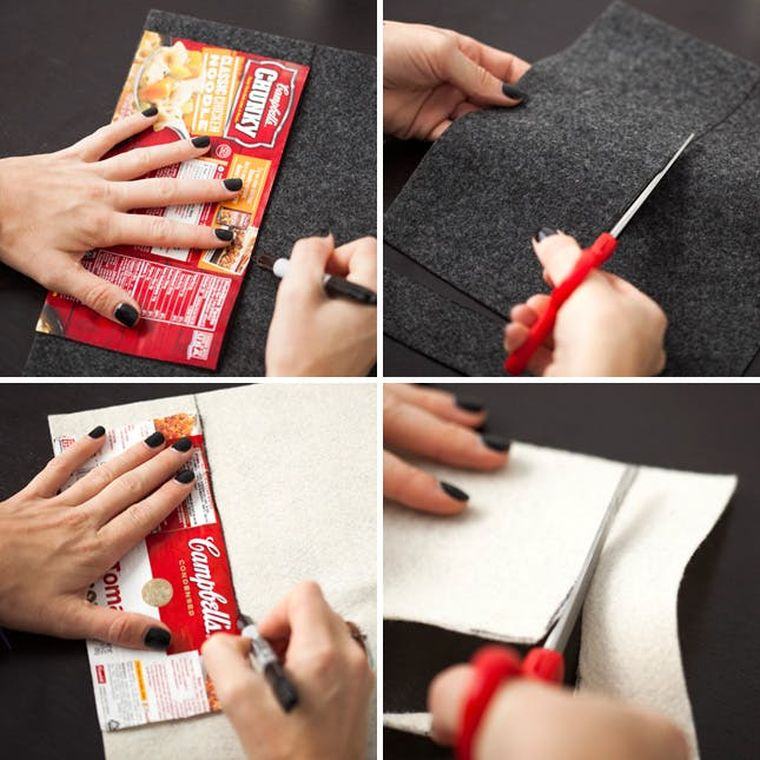 Handicrafts with recycling – 5 tutorials to try with your children | 26/39
After preparing and cleaning the metal cans, we take care of the creation of a dressing for it. For this purpose, we take the fabric and cut enough tips to cover the surface of the can. It is also possible to serve as a combination of several types of fabric sewn together.
View in gallery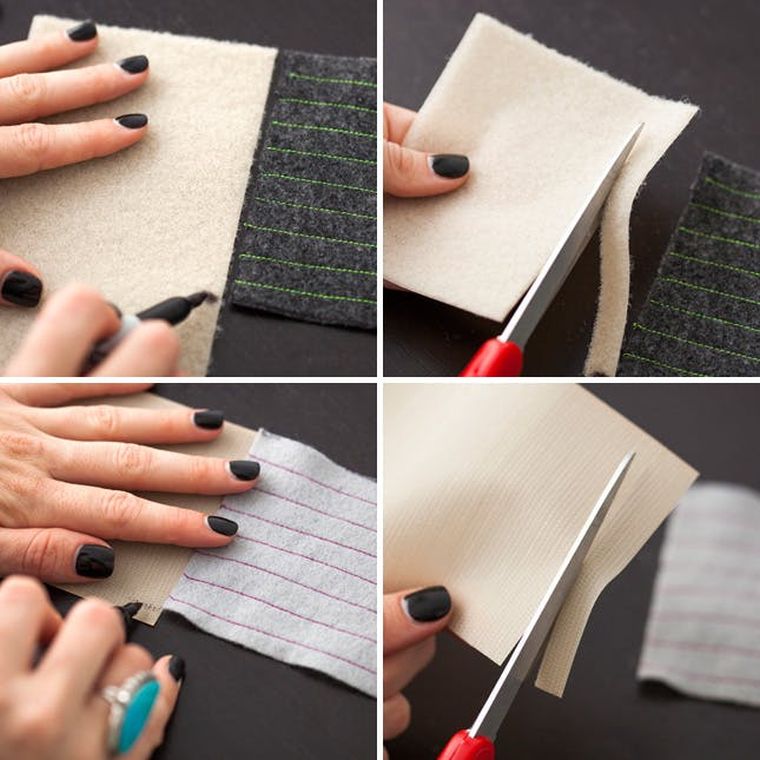 Handicrafts with recycling – 5 tutorials to try with your children | 27/39
View in gallery Handicrafts with recycling – 5 tutorials to try with your children | 28/39
We continue by fixing the self-gripping tape to the cut fabric. This is an easy step to achieve using a sewing machine; it can also be done by hand with a few threads and a needle.
View in gallery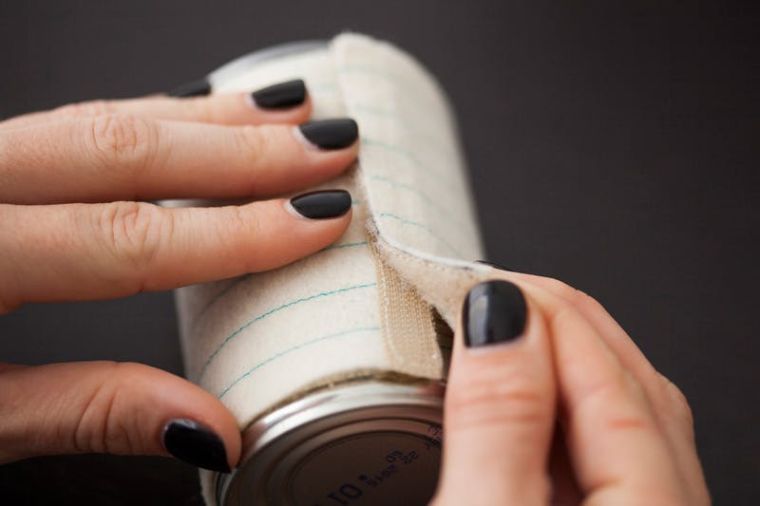 Handicrafts with recycling – 5 tutorials to try with your children | 29/39
Once the ribbon is attached to the fabric, you can dress the bobbin! The fabric is wrapped around it and secured with the ribbon.
View in gallery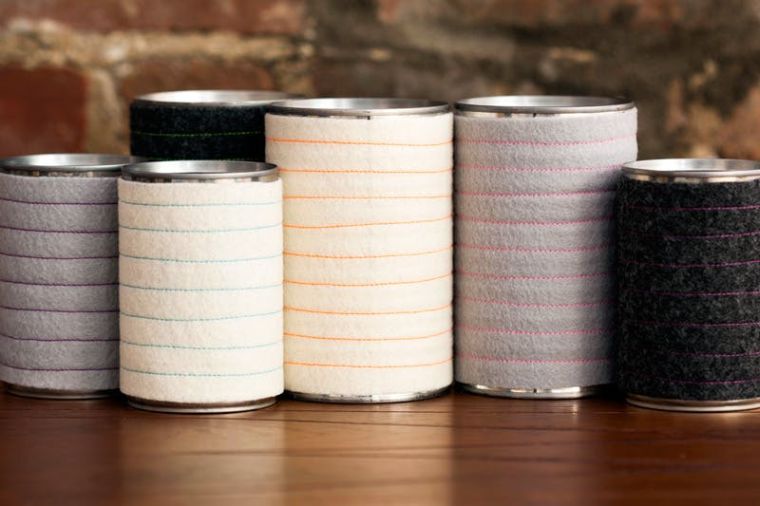 Handicrafts with recycling – 5 tutorials to try with your children | 30/39
Recycled can storage is now ready for use. It will be used to store pens, pencils and markers but also as a vase or DIY flower pot.
View in gallery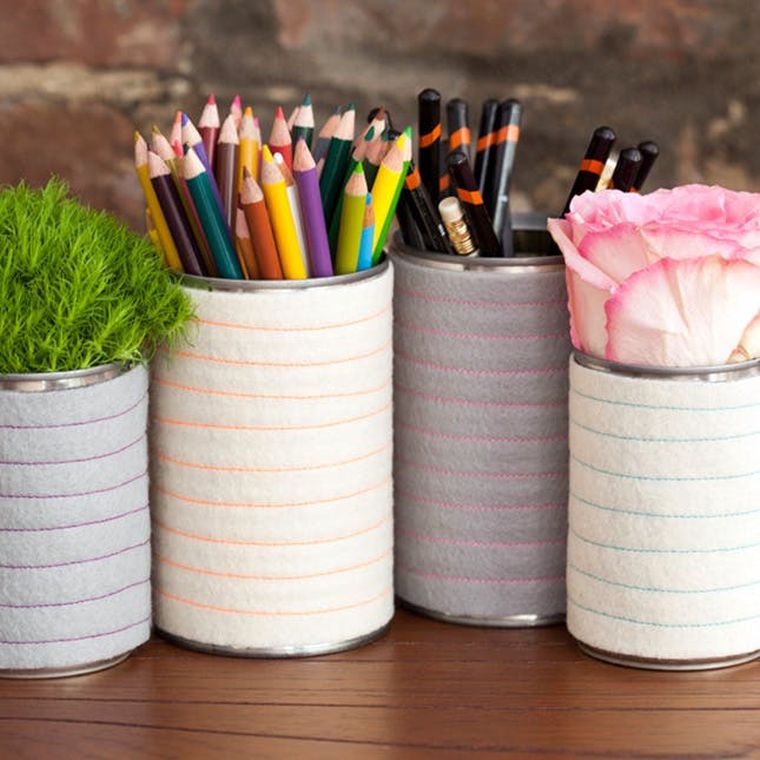 Handicrafts with recycling – 5 tutorials to try with your children | 31/39
Handicrafts with recycling – DIY decoration with glass bottle
View in gallery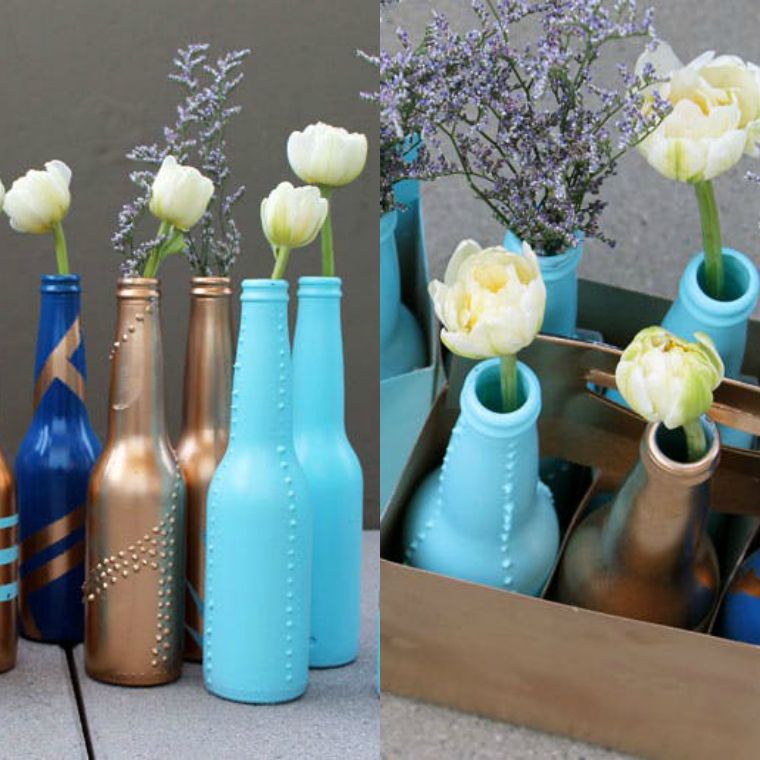 Handicrafts with recycling – 5 tutorials to try with your children | 32/39
The latest project of this series of ideas on the theme manual work with recycling offers you to transform glass bottles into original vases. Just recently, we talked about creative recycling opportunities for plastic bottles. But let’s not forget that glass bottles can also be recycled; they will then be used to create decorative objects ideal for a terrace or outdoor dining area. To achieve this original project, provide the following materials:
- empty glass bottles;
- paint.
The bottles can be decorated in many ways. For example, it is possible to adorn them with stickers or to paint geometric shapes using the paint protection adhesive. In addition, silicone can be used to draw on bottles before coating them with paint. Just select the desired type of decorations and provide additional materials according to this choice.
How to recycle empty glass bottles and turn them into vases
View in gallery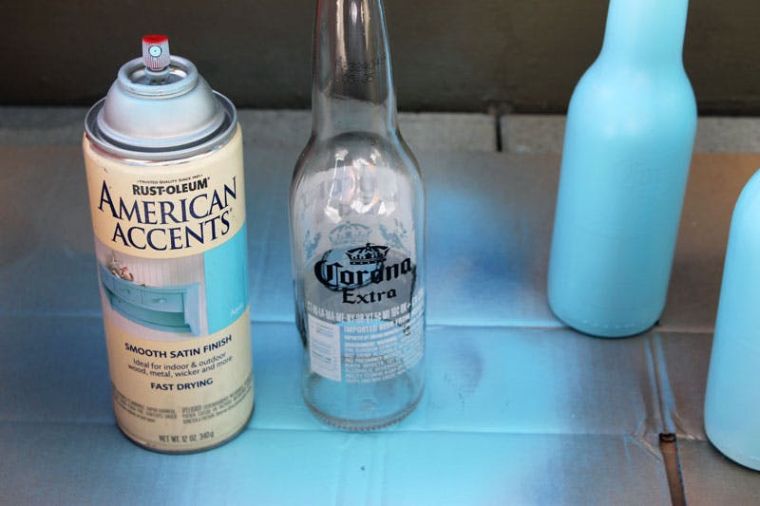 Handicrafts with recycling – 5 tutorials to try with your children | 33/39
The painting of the bottles is an essential step of this project. It is to be made using a bomb or with brushes, according to the technique we have chosen.
View in gallery Handicrafts with recycling – 5 tutorials to try with your children | 34/39
The idea of this step is to cover the bottle entirely with an interesting color. Of course, you can use multiple colors for a more user-friendly effect.
View in gallery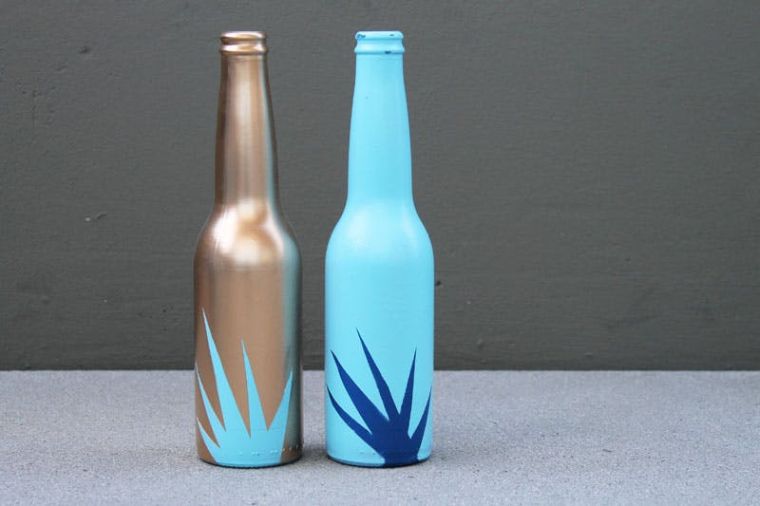 Handicrafts with recycling – 5 tutorials to try with your children | 35/39
Depending on the chosen painting and decoration technique, additional decorations can be made before or after painting. Decorations made with paint protection adhesive are to be made after applying the first coat. For this, it would stick the adhesive and apply a second coat of paint on top of the first.
View in gallery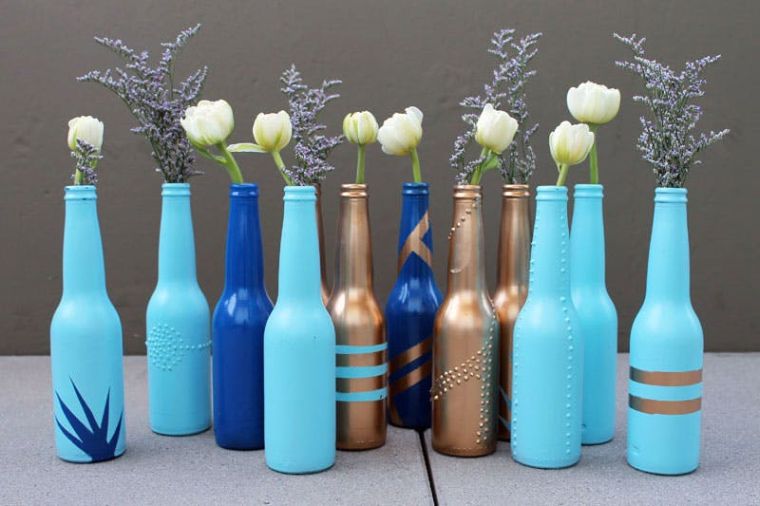 Handicrafts with recycling – 5 tutorials to try with your children | 36/39
Another idea of decoration of the bottle already painted, it is the stickers. Their advantage: they are simple to stick and do not require great skills in painting. In addition, they will be particularly suitable for a decoration for children!
View in gallery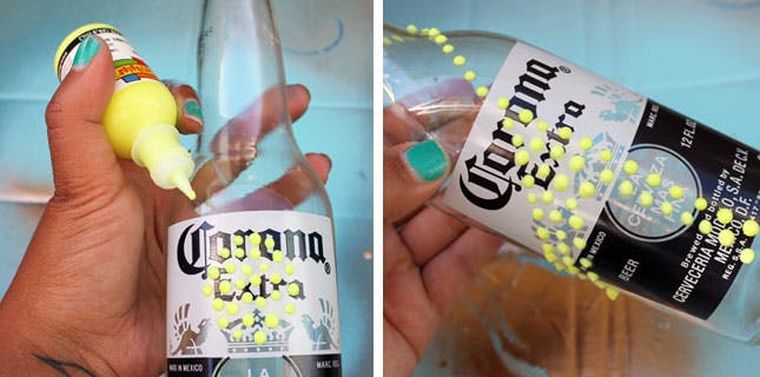 Handicrafts with recycling – 5 tutorials to try with your children | 37/39
In contrast, the deco technique with silicone should be applied before painting. It consists of making various ornaments on the surface of the bottle. Once these decorations are dried, you are free to cover the bottle with the color of your choice.
View in gallery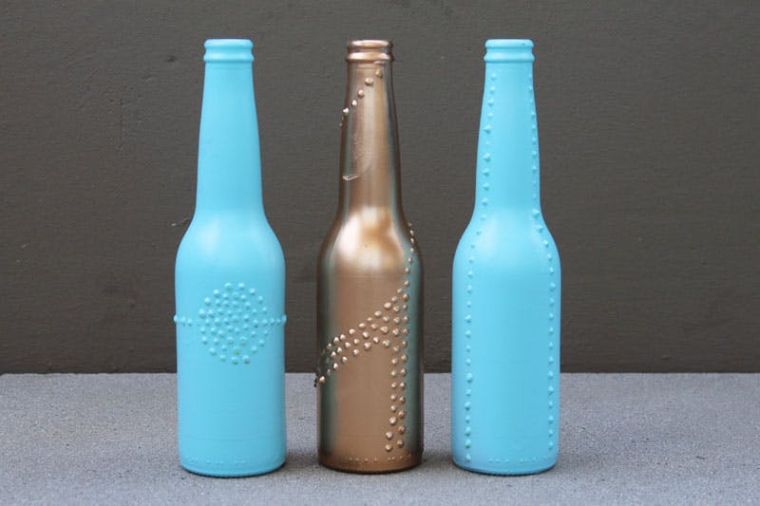 Handicrafts with recycling – 5 tutorials to try with your children | 38/39
When the paint is dry, the bottles are filled with water, just like vases. We can then place flowers and decorate a dining table, a pedestal table or, why not, a Zen corner of its terrace!
View in gallery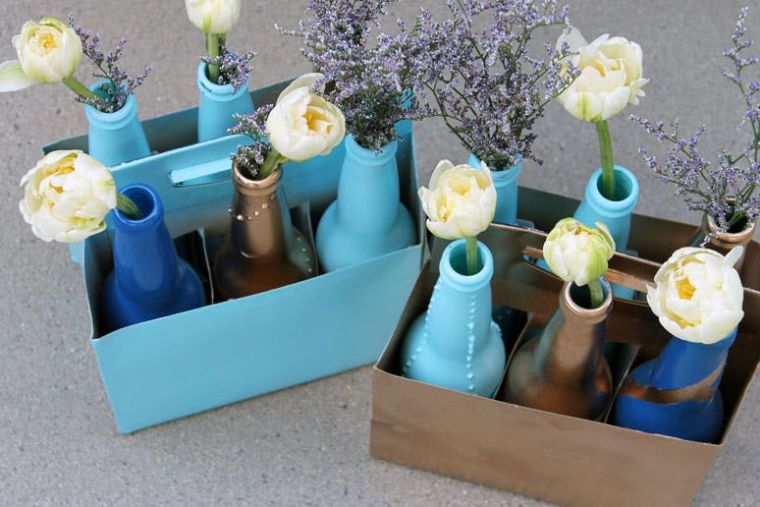 Handicrafts with recycling – 5 tutorials to try with your children | 39/39
Claire Deschamps in