View in gallery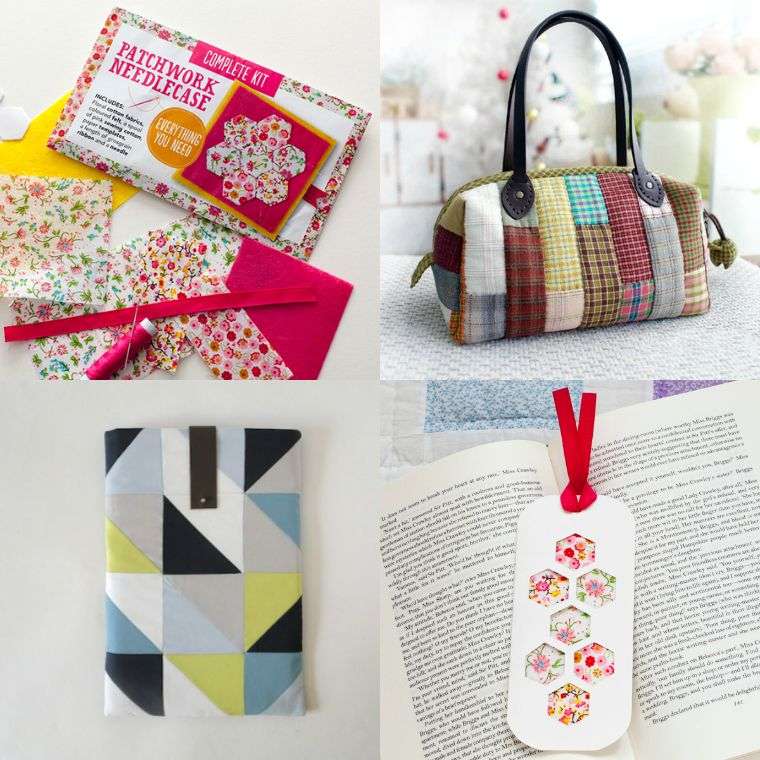 DIY patchwork free tutorial, templates and inspirations | 1/22
Do you like fashion and sewing? Do you love experimenting with projects for making bags, outfits and textile decorations? In this case, you probably have a large stock of pieces of cloth in various colors.
If you are looking for ways to use them, we offer you an idea:
learn more about DIY patchwork
and make original creations, while recycling these pieces of textile. Explore our three patchwork tutorials to see how to make a laptop cover, a chic handbag and a handy page mark!
DIY patchwork – making a laptop cover
View in gallery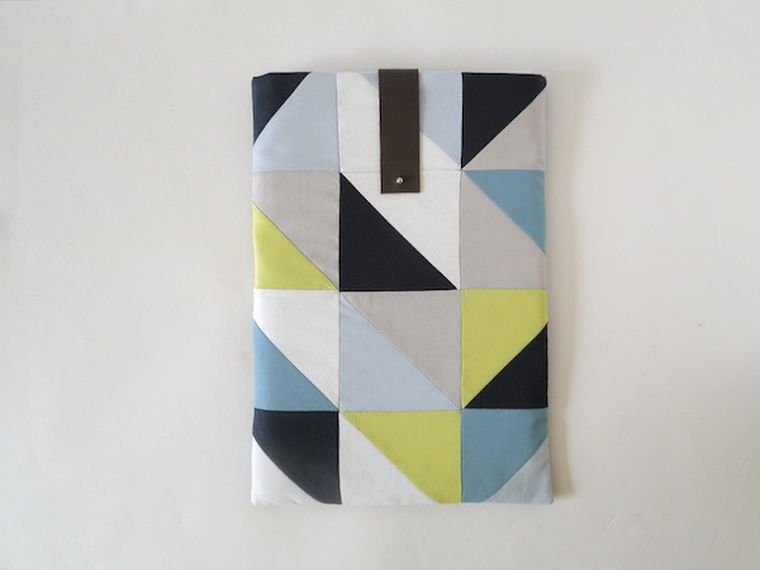 DIY patchwork free tutorial, templates and inspirations | 2/22
Who does not need a practical laptop case? Today, sewing enthusiasts can make one themselves. The good news is that such a project does not even require the purchase of fabric; yes, as you well understood, a computer case can be easily made of pieces of textile remaining from another project!
View in gallery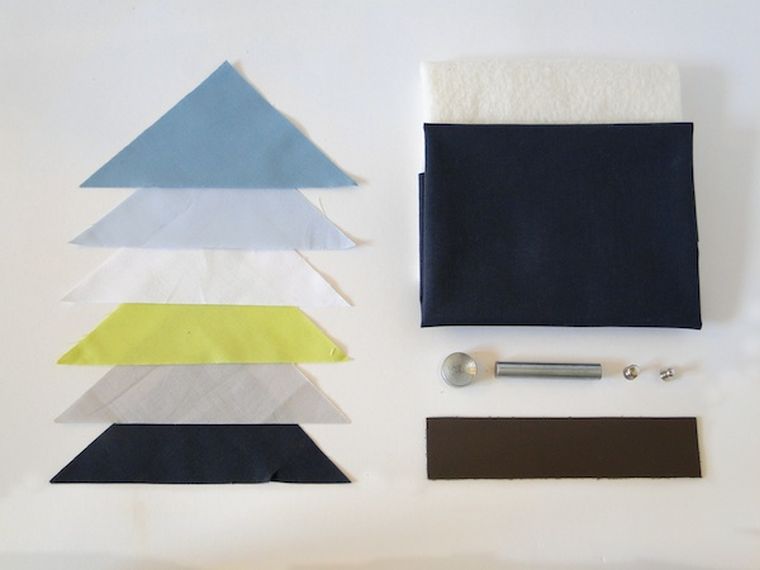 DIY patchwork free tutorial, templates and inspirations | 3/22
The materials needed for this DIY patchwork will depend on the size of the computer you want to dress. In addition to pieces of textile, it is necessary to provide a piece of leather (for the closure of the cover), liners (for the patchwork and for the cover itself).
DIY patchwork tuto easy computer cover
View in gallery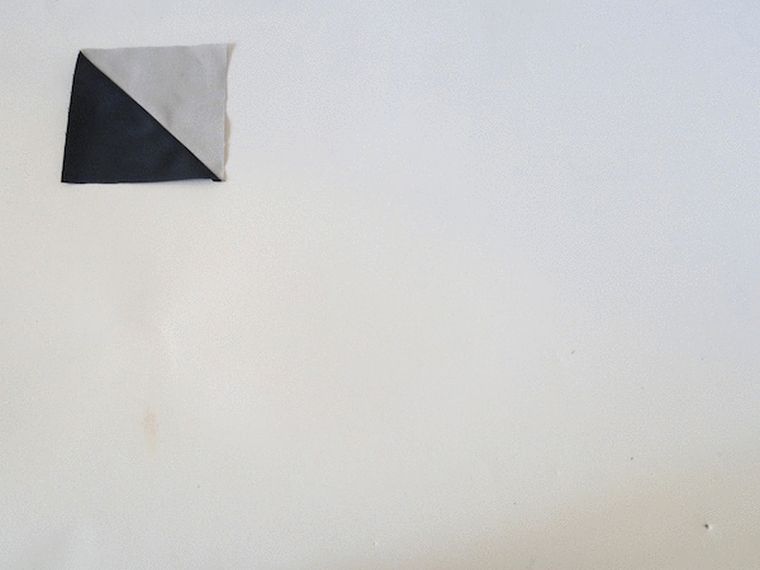 DIY patchwork free tutorial, templates and inspirations | 4/22
To realize this DIY patchwork project, we start with the arrangement of the pieces of fabric. The size and shapes of the pieces are to be selected according to the taste of each. The same goes for the patterns and for the colors of the fabrics. Note: the more pieces, the longer the assembly work will be. For the first phase of this manual activity, we decide on the arrangement of the pieces of fabric. We try different combinations of colors and patterns!
View in gallery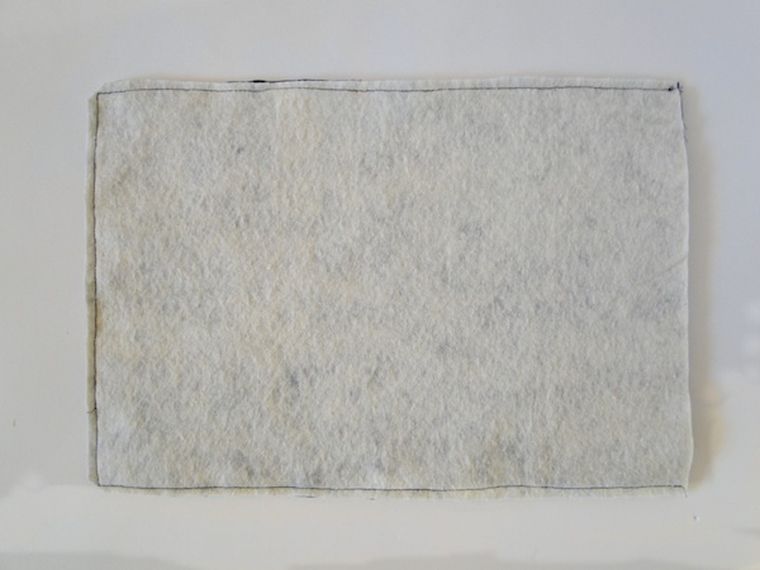 DIY patchwork free tutorial, templates and inspirations | 5/22
Once this step is over, it’s time to put the textile tips together. For this, we use a first lining. The principle: the pieces of fabric must be fixed on it, like a mosaic.
View in gallery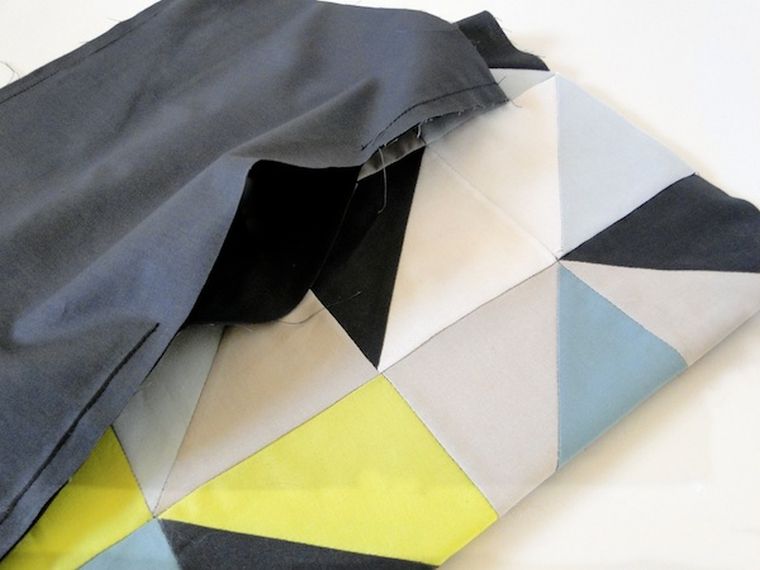 DIY patchwork free tutorial, templates and inspirations | 6/22
After this phase, we move on to the next step. It consists of adding a chic and soft lining inside the cover. Because, remember, it’s about creating extra protection for your computer!
View in gallery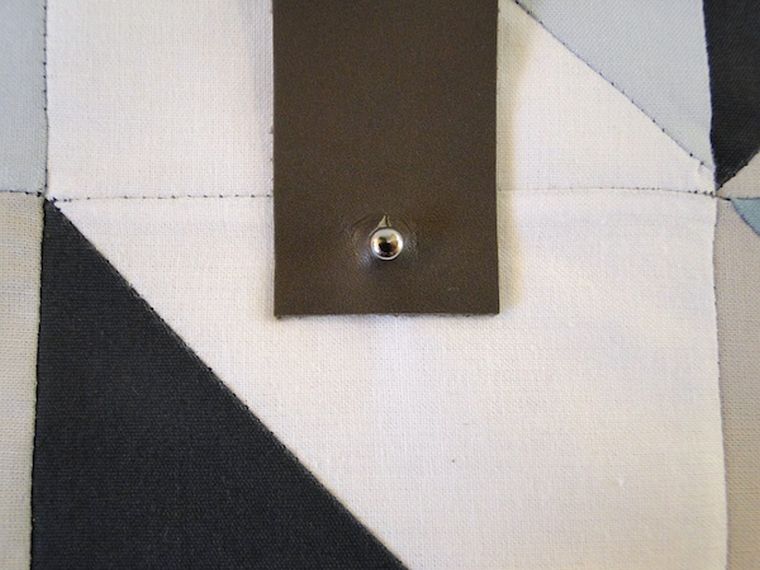 DIY patchwork free tutorial, templates and inspirations | 7/22
The last phase of this patchwork tutorial is about adding a closure to the cover. In our example, we use a piece of leather and a metal closure. But that is not obligatory; everyone can bet on a closure of their choice!
DIY patchwork pattern of handbag to make oneself
View in gallery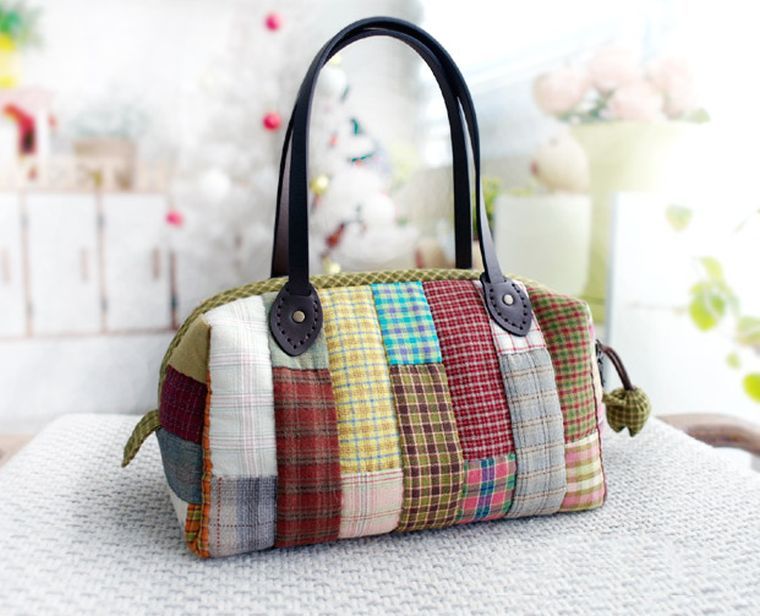 DIY patchwork free tutorial, templates and inspirations | 8/22
Want to make a new handbag? Here again, you do not need to spend a lot of money. In fact, with our DIY patchwork tutorial, you will learn how to make a purse by recycling unused pieces of textile!
View in gallery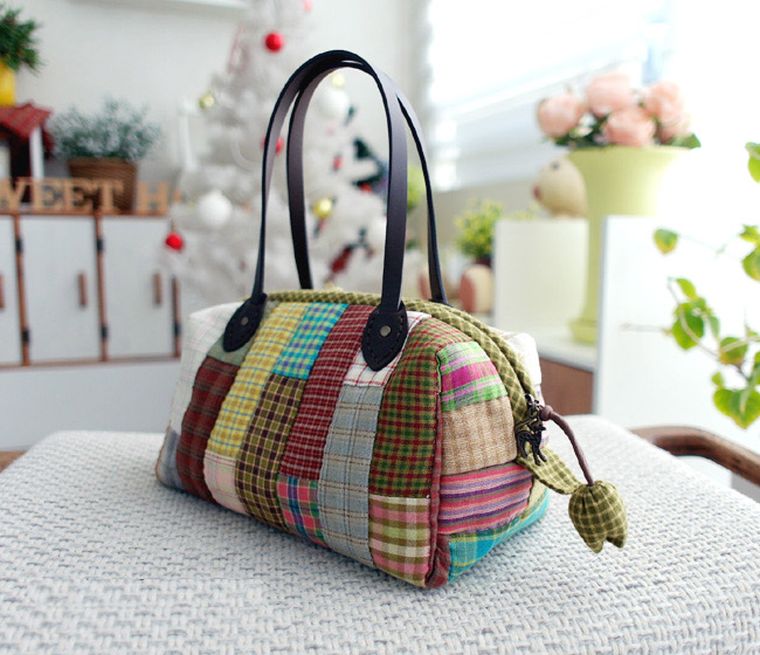 DIY patchwork free tutorial, templates and inspirations | 9/22
Regarding materials, as in the previous project, the number of pieces of textile depends essentially on the size of the handbag. In addition to these, we will need two liners, a zipper and two bag handles. Note: Depending on the type of handles, you may need the necessary materials to attach them to the handbag.
DIY patchwork tutorial – idea of handbag to make yourself
View in gallery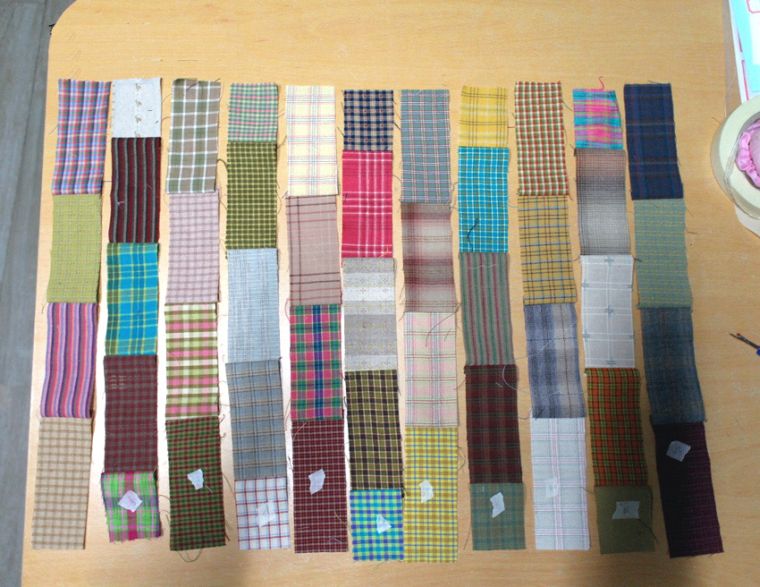 DIY patchwork free tutorial, templates and inspirations | 10/22
As with every DIY patchwork project, we start by deciding on the arrangement of the pieces of fabric. So we play with colors and patterns to get the best result. To facilitate this work, we use rectangular pieces. But it is also possible to try this project with triangular or square pieces of fabric.
View in gallery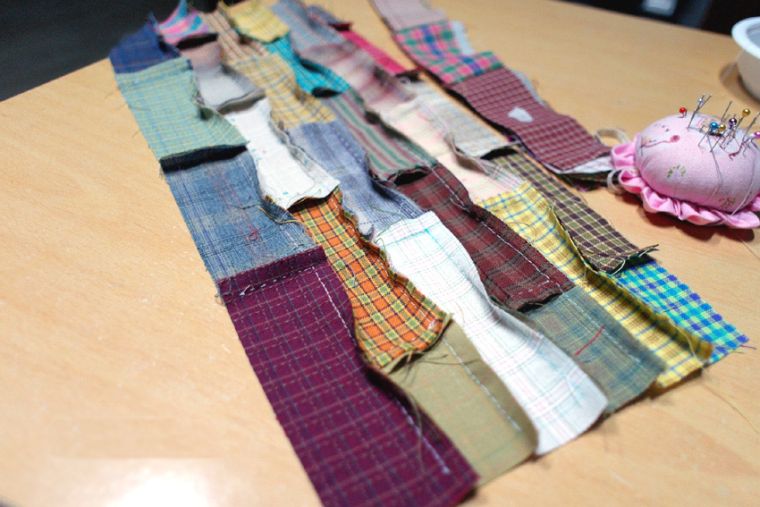
DIY patchwork free tutorial, templates and inspirations | 11/22
When we have found the best combination of colors and patterns, we move on to the next step. It is at this point in the project that we will put the pieces of fabric together with a needle and the sewing thread. Of course, the more pieces of fabric are numerous, the less this step will be fast. Depending on the wishes, we are also free to add a first lining and sew the pieces on it.
View in gallery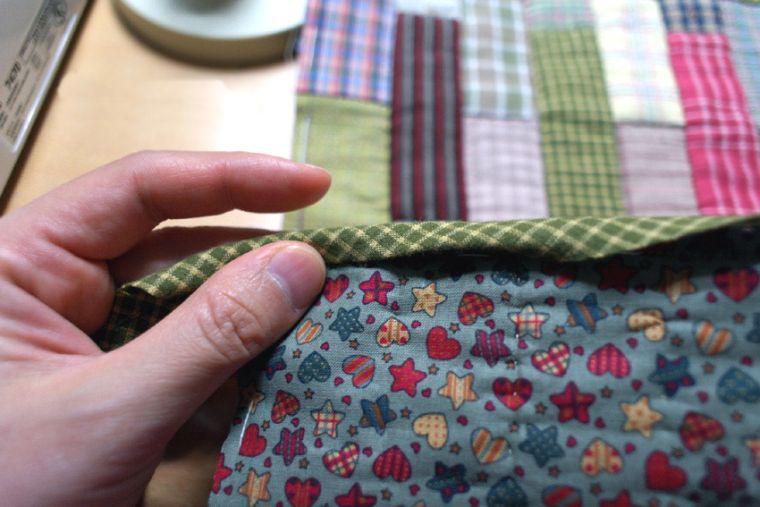 DIY patchwork free tutorial, templates and inspirations | 12/22
Immediately after this step, the time has come to add the main lining of the handbag. It must cover all the DIY patchwork, as shown in the picture below.
View in gallery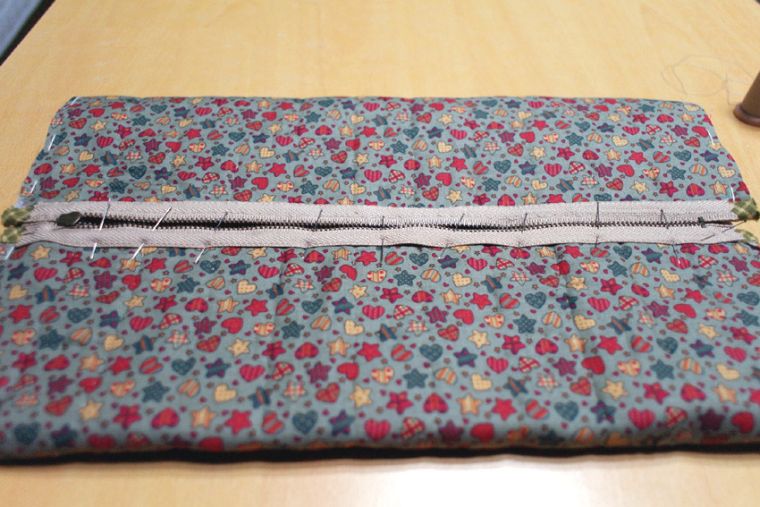 DIY patchwork free tutorial, templates and inspirations | 13/22
Then, continue adding the zipper to her purse. At this point, we always work on the inside of the bag, as visible in the following image.
View in gallery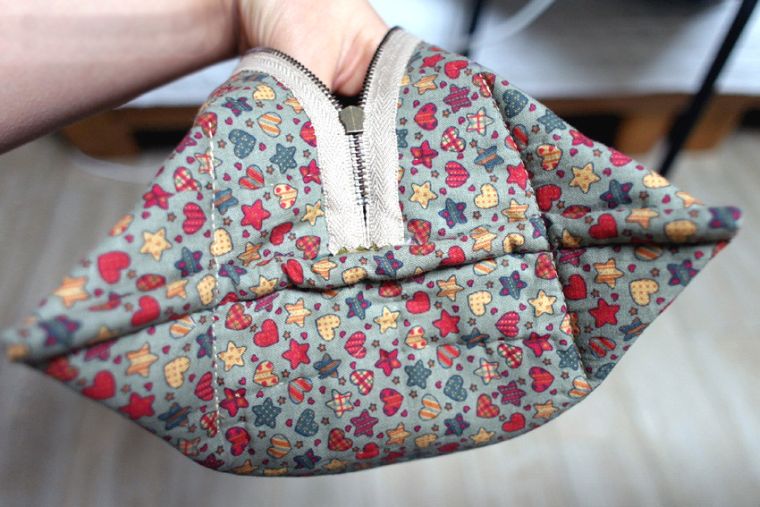 DIY patchwork free tutorial, templates and inspirations | 14/22
View in gallery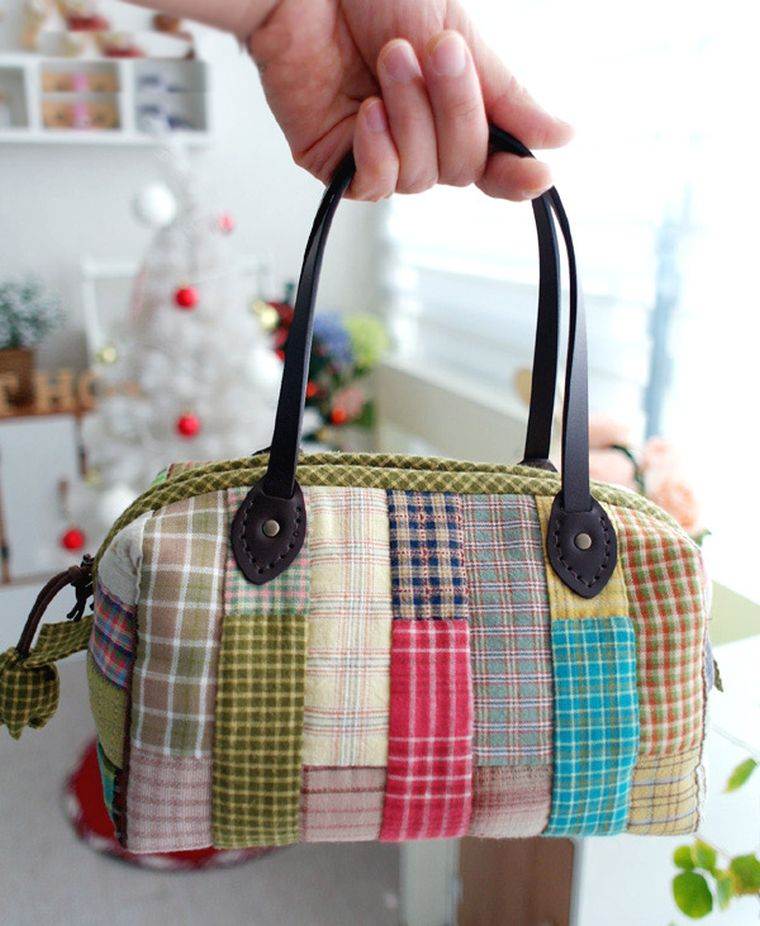 DIY patchwork free tutorial, templates and inspirations | 15/22
In the last step, we return and add the selected handles. The handbag will then be ready for use!
DIY easy patchwork – idea to make a mark page
View in gallery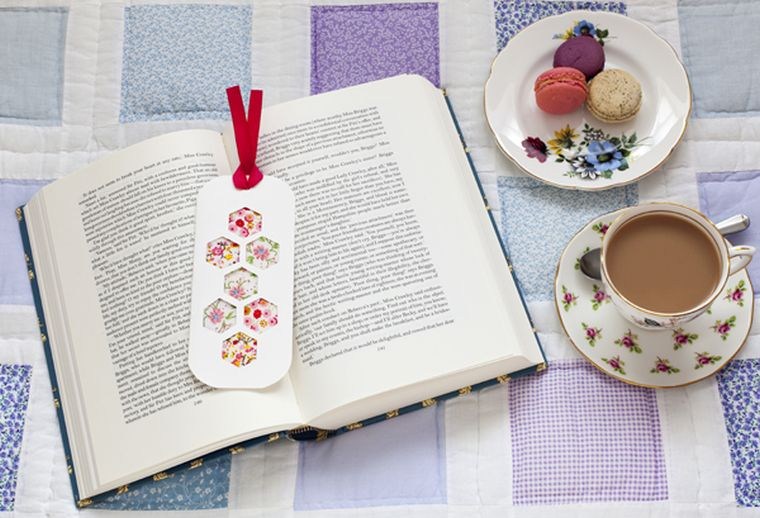 DIY patchwork free tutorial, templates and inspirations | 16/22
With our latest patchwork tutorial, we embark on the realization of a brand page in fabric and paper. It’s a fun little DIY patchwork project that complements our collection of DIY creative bookmarks for the reading enthusiast.
Side materials needed, in addition to bits of fabric, we will still need the following things:
- a pencil ;
- cardboard paper;
- cutting models (to do yourself, to choose);
- a ribbon ;
- a lining;
- paper adhesive;
- a punching machine;
- son and a needle;
- scissors.
View in gallery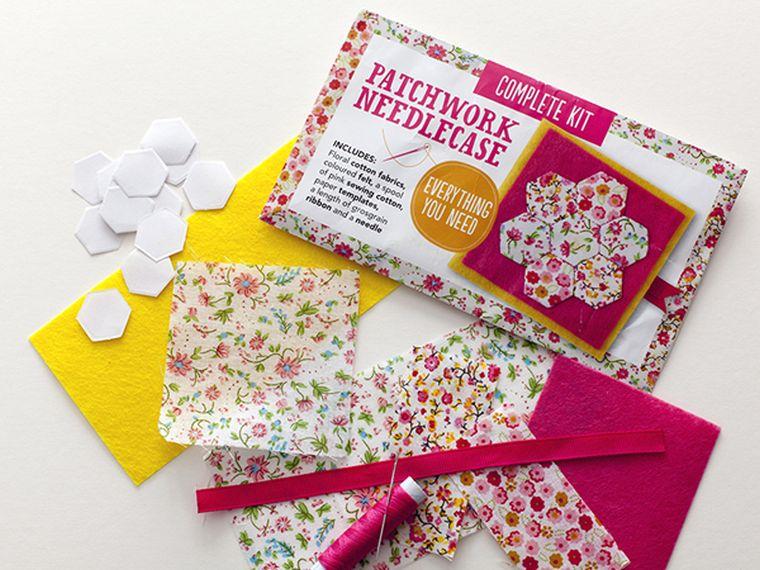 DIY patchwork free tutorial, templates and inspirations | 17/22
DIY patchwork tutorial – how to create a creative page brand
View in gallery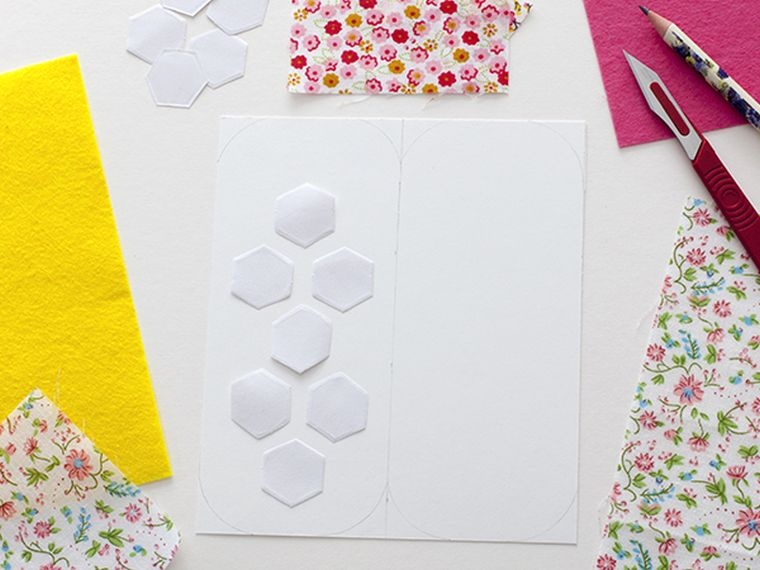 DIY patchwork free tutorial, templates and inspirations | 18/22
To make his mark page easy patchwork, it starts at first in a bit of cutting. This will be to prepare the cardboard paper to add the pieces of fabric in the next step. Thus, the paper is cut into the desired shape for the page mark. Then, we make holes on its face by following the model of cutting selected.
View in gallery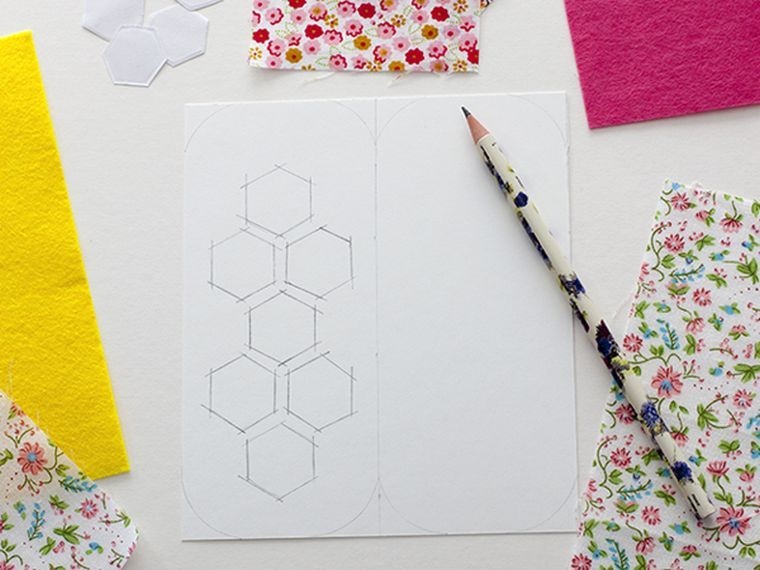 DIY patchwork free tutorial, templates and inspirations | 19/22
This phase is achieved using cutting templates, a pencil, the cutter and scissors. The picture on the picture below shows the result we were looking for.
View in gallery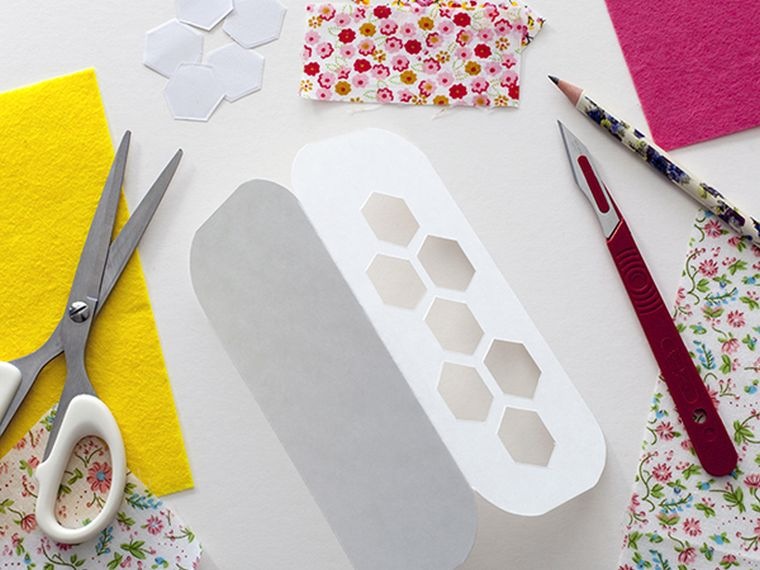 DIY patchwork free tutorial, templates and inspirations | 20/22
After this step, we go to work pieces of cloth. The desired shapes are cut from the ends of the fabric to be recycled and into the lining. For this, we use the same models of cutting as those used earlier. Then, using the thread and the needle, small fills are made for the frames cut in the paper previously. We do not forget to fill them with the lining.
View in gallery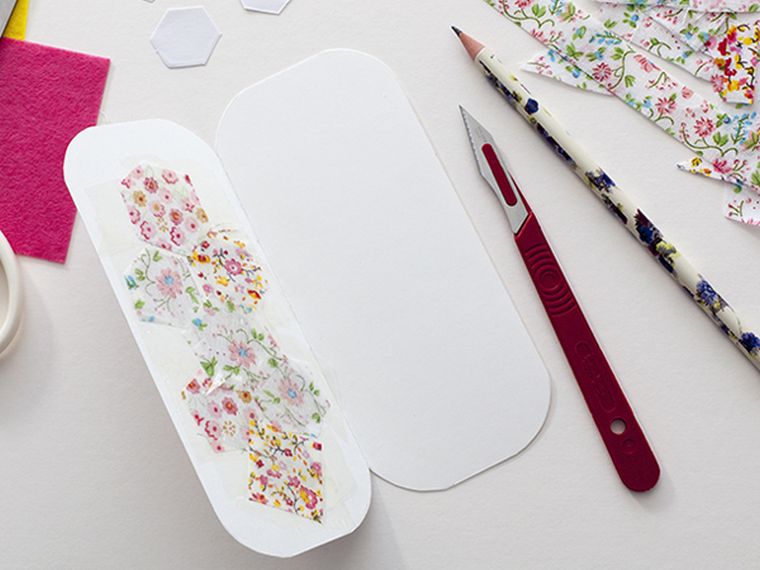 DIY patchwork free tutorial, templates and inspirations | 21/22
Before finishing, attach the small pieces of fabric to the paper with adhesive. Finally, you can adorn the page mark with a ribbon, inserted in a hole on the end of the paper (to be done with the punching machine). And here it is, a beautiful idea of brand page to offer itself!
View in gallery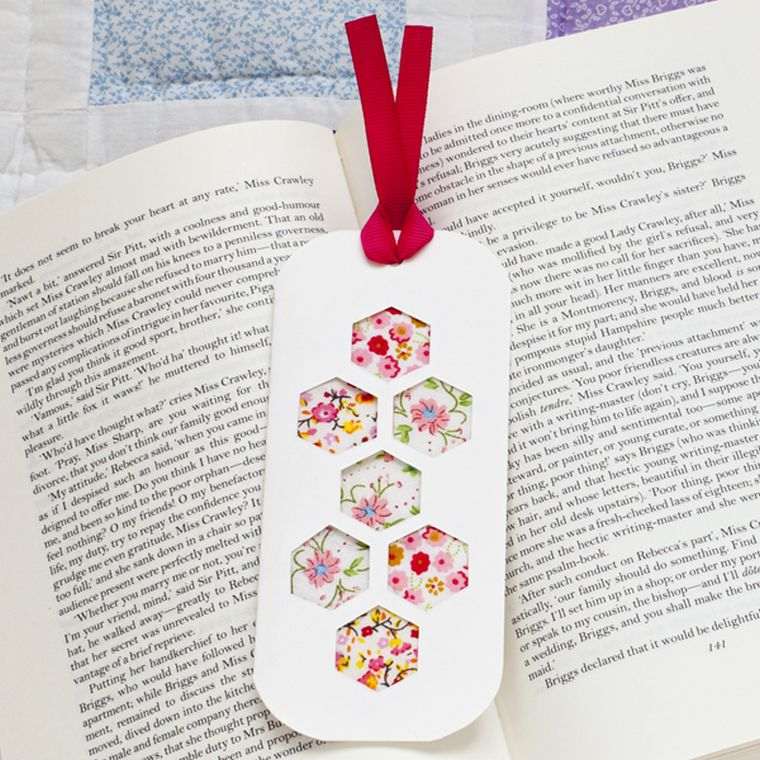 DIY patchwork free tutorial, templates and inspirations | 22/22
Claire Deschamps in